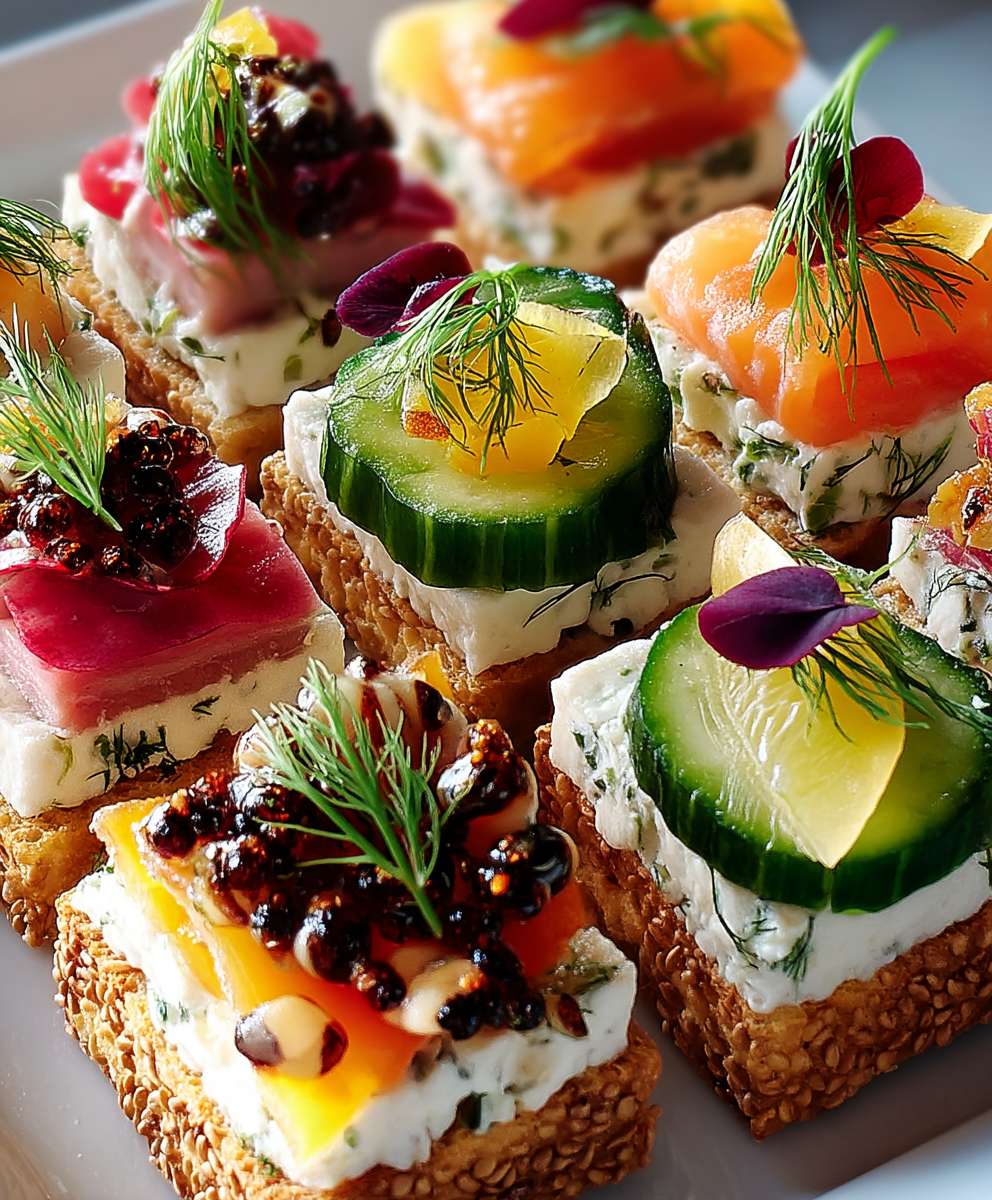
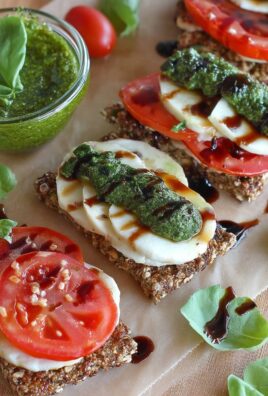
Spring crackers, those delightful, crispy treats bursting with fresh, seasonal flavors, are about to become your new favorite snack! Imagine biting into a light, airy cracker studded with vibrant herbs and perhaps a hint of lemon zest a true taste of springtime in every bite. Forget those bland, store-bought crackers; we’re diving into a world of homemade goodness that’s surprisingly easy to achieve.
While the exact origins of savory crackers are somewhat debated, the concept of baking thin, unleavened wafers dates back centuries. These early crackers were often used as a staple food, providing a long-lasting and portable source of sustenance. Today, we’ve elevated the humble cracker to an art form, infusing it with exciting flavors and textures. These spring crackers are a testament to that evolution.
What makes these crackers so irresistible? It’s the perfect combination of a satisfying crunch, the subtle saltiness that enhances the other flavors, and the delightful freshness of spring herbs. They’re incredibly versatile, too! Enjoy them on their own as a light snack, pair them with your favorite cheeses and dips, or crumble them over salads for added texture and flavor. Get ready to impress your friends and family with these homemade delights!
Ingredients:
- 1 cup all-purpose flour, plus more for dusting
- 1/2 teaspoon baking powder
- 1/4 teaspoon baking soda
- 1/4 teaspoon salt
- 1/4 cup (1/2 stick) cold unsalted butter, cut into small pieces
- 1/4 cup cold vegetable shortening, cut into small pieces
- 1/4 cup ice water, plus more if needed
- 1 tablespoon apple cider vinegar
- Everything bagel seasoning, for topping (or sesame seeds, poppy seeds, coarse salt, etc.)
- Optional: 1/4 cup finely grated Parmesan cheese, added to the dough
- Optional: Fresh herbs like rosemary or thyme, finely chopped and added to the dough
Preparing the Dough:
- In a large bowl, whisk together the flour, baking powder, baking soda, and salt. This ensures that the leavening agents are evenly distributed throughout the dough, which is crucial for a light and crispy cracker.
- Add the cold butter and vegetable shortening to the flour mixture. Using a pastry blender or your fingertips, cut the butter and shortening into the flour until the mixture resembles coarse crumbs. The key here is to work quickly and keep the fats cold. This creates pockets of fat within the dough that will melt during baking, resulting in flaky layers. If you don’t have a pastry blender, you can use two knives to cut the butter and shortening into the flour.
- In a small bowl, whisk together the ice water and apple cider vinegar. The vinegar helps to tenderize the gluten in the flour, resulting in a more delicate cracker.
- Gradually add the ice water mixture to the flour mixture, mixing until just combined. Be careful not to overmix the dough, as this will develop the gluten and result in a tough cracker. The dough should be slightly shaggy and come together in a ball. If the dough is too dry, add a tablespoon of ice water at a time until it comes together.
- Turn the dough out onto a lightly floured surface and gently knead it a few times to bring it together. Form the dough into a disc, wrap it in plastic wrap, and refrigerate for at least 30 minutes, or up to 2 hours. This allows the gluten to relax and makes the dough easier to roll out. Chilling the dough also helps to keep the fats cold, which is important for creating flaky layers.
Rolling and Cutting the Crackers:
- Preheat your oven to 375°F (190°C). Line two baking sheets with parchment paper. Parchment paper prevents the crackers from sticking and makes cleanup a breeze.
- Remove the dough from the refrigerator and place it on a lightly floured surface. Divide the dough in half. This makes it easier to work with.
- Roll out one half of the dough into a very thin rectangle, about 1/8 inch thick. The thinner you roll the dough, the crispier the crackers will be. Use a rolling pin and apply even pressure to ensure a uniform thickness. If the dough is sticking to the surface, add a little more flour.
- Using a pizza cutter or a sharp knife, cut the dough into squares, rectangles, or any shape you desire. You can also use cookie cutters to create fun shapes. The size of the crackers is up to you, but keep in mind that smaller crackers will bake faster.
- Transfer the crackers to the prepared baking sheets, leaving a little space between each cracker. You can use a spatula to carefully lift the crackers and transfer them to the baking sheets.
- Repeat steps 3-5 with the remaining dough.
Adding Toppings and Baking:
- Lightly brush the crackers with water or olive oil. This helps the toppings adhere to the crackers.
- Sprinkle the crackers with everything bagel seasoning, sesame seeds, poppy seeds, coarse salt, or any other toppings you desire. Get creative and experiment with different flavor combinations!
- If you want to add a little extra flavor, you can sprinkle the crackers with a little grated Parmesan cheese before baking.
- Use a fork to prick each cracker several times. This prevents the crackers from puffing up too much during baking.
- Bake for 10-15 minutes, or until the crackers are golden brown and crispy. The baking time will vary depending on the thickness of the crackers and your oven. Keep a close eye on them to prevent them from burning.
- Remove the baking sheets from the oven and let the crackers cool completely on the baking sheets before serving. This allows them to crisp up even more.
Optional Flavor Variations:
Cheese Crackers:
Add 1/4 cup of finely grated Parmesan cheese, cheddar cheese, or Gruyere cheese to the dough along with the flour. This will give the crackers a cheesy flavor and a slightly different texture.
Herb Crackers:
Add 1-2 tablespoons of finely chopped fresh herbs, such as rosemary, thyme, or oregano, to the dough along with the flour. This will give the crackers a fresh, herbaceous flavor.
Spicy Crackers:
Add 1/4 teaspoon of cayenne pepper or red pepper flakes to the dough along with the flour. This will give the crackers a spicy kick.
Garlic Crackers:
Add 1 teaspoon of garlic powder to the dough along with the flour. You can also brush the baked crackers with garlic-infused olive oil for an extra garlicky flavor.
Lemon Pepper Crackers:
Add 1 teaspoon of lemon zest and 1/2 teaspoon of freshly ground black pepper to the dough along with the flour. This will give the crackers a bright, citrusy flavor with a hint of spice.
Whole Wheat Crackers:
Substitute half of the all-purpose flour with whole wheat flour. This will give the crackers a nuttier flavor and a slightly denser texture.
Gluten-Free Crackers:
Use a gluten-free all-purpose flour blend instead of regular all-purpose flour. Make sure the blend contains xanthan gum or another binder to help hold the crackers together.
Tips for Success:
- Keep the ingredients cold. Cold butter and shortening are essential for creating flaky layers in the crackers.
- Don’t overmix the dough. Overmixing will develop the gluten and result in tough crackers.
- Roll the dough out thinly. The thinner you roll the dough, the crispier the crackers will be.
- Prick the crackers with a fork. This prevents them from puffing up too much during baking.
- Let the crackers cool completely before serving. This allows them to crisp up even more.
- Store the crackers in an airtight container at room temperature. They will keep for several days.
Serving Suggestions:
These homemade spring crackers are delicious on their own as a snack, or you can serve them with:
- Cheese and charcuterie
- Dips, such as hummus, guacamole, or spinach artichoke dip
- Soups and salads
- Wine and cheese pairings
Troubleshooting:
Crackers are too tough:
This is likely due to overmixing the dough. Be careful not to overmix the dough when adding the water. Also, make sure you are not kneading the dough too much.
Crackers are not crispy:
Make sure you are rolling the dough out thinly enough. Also, make sure your oven is hot enough and that you are baking the crackers for long enough. You can also try letting the crackers cool completely on the baking sheet before serving.
Crackers are burning:
Your oven may be too hot. Try reducing the oven temperature by 25 degrees Fahrenheit. Also, make sure you are not baking the crackers for too long. Keep a close eye on them to prevent them from burning.
Crackers are puffing up too much:
Make sure you are pricking the crackers with a fork before baking. This will help to prevent them from puffing up too much.
Dough is too dry:
Add a tablespoon of ice water at a time until the dough comes together.
Dough is too sticky:
Add a tablespoon of flour at a time until the dough is no longer sticky.
Nutritional Information (Approximate, per serving):
Note: Nutritional information will vary depending on the specific ingredients used and the size of the crackers.
- Calories: 50-70
- Fat: 3-5g
- Saturated Fat:

Conclusion:
This recipe for Spring Crackers is truly a must-try, and I’m not just saying that! The delightful combination of fresh, vibrant flavors and satisfying crunch makes them the perfect snack for any occasion. Forget those bland, store-bought crackers these homemade beauties are in a league of their own. They’re incredibly easy to make, surprisingly versatile, and guaranteed to impress your friends and family.
Think of the possibilities! These aren’t just crackers; they’re a blank canvas for your culinary creativity. I’ve found myself reaching for them time and time again, and I’m confident you will too. The light, airy texture is perfect for showcasing your favorite toppings.
Serving Suggestions and Variations:
* Cheese and Charcuterie Board Staple: Imagine these Spring Crackers alongside a selection of artisanal cheeses, cured meats, and olives. The subtle flavor of the crackers won’t overpower the other elements, but rather complement them beautifully. A sharp cheddar, creamy brie, or tangy goat cheese would be divine.
* Dip Delights: These crackers are fantastic for scooping up your favorite dips. Hummus, guacamole, spinach artichoke dip the possibilities are endless! The sturdy texture ensures they won’t break, even with the thickest dips.
* Soup and Salad Accompaniment: Add a touch of elegance to your soup or salad by serving these crackers on the side. They’re a much more interesting and flavorful alternative to croutons or plain bread.
* Sweet Treat: Don’t limit yourself to savory toppings! A smear of Nutella, a dollop of whipped cream, or a sprinkle of fresh berries would transform these crackers into a delightful dessert.
* Spice it Up: For a little extra kick, add a pinch of red pepper flakes to the dough.
* Herb Heaven: Experiment with different herbs! Rosemary, thyme, or oregano would all be delicious additions.
* Seed Sensations: Sprinkle sesame seeds, poppy seeds, or sunflower seeds on top before baking for added texture and flavor.
* Garlic Goodness: Add a touch of garlic powder to the dough for a savory boost.I truly believe that once you try this recipe, you’ll be hooked. The satisfaction of creating something so delicious from scratch is incredibly rewarding. Plus, you’ll have a batch of homemade crackers that are far superior to anything you can buy in a store.
So, what are you waiting for? Gather your ingredients, preheat your oven, and get ready to experience the joy of making your own Spring Crackers. I’m confident that you’ll love them as much as I do.
I’m so excited for you to try this recipe! Once you’ve made your own batch of these delightful crackers, please share your experience with me. I’d love to hear about your favorite toppings, variations, and serving suggestions. Leave a comment below, tag me in your photos on social media, or send me an email. I can’t wait to see what you create! Happy baking!
Spring Crackers: The Ultimate Guide to Baking & Enjoying Them
Crispy, homemade crackers perfect for snacking or serving with cheese, dips, and more. Customize with your favorite toppings and flavor variations!
Ingredients
- 1 cup all-purpose flour, plus more for dusting
- 1/2 teaspoon baking powder
- 1/4 teaspoon baking soda
- 1/4 teaspoon salt
- 1/4 cup (1/2 stick) cold unsalted butter, cut into small pieces
- 1/4 cup cold vegetable shortening, cut into small pieces
- 1/4 cup ice water, plus more if needed
- 1 tablespoon apple cider vinegar
- Everything bagel seasoning, for topping (or sesame seeds, poppy seeds, coarse salt, etc.)
- Optional: 1/4 cup finely grated Parmesan cheese, added to the dough
- Optional: Fresh herbs like rosemary or thyme, finely chopped and added to the dough
Instructions
- Prepare the Dough: In a large bowl, whisk together the flour, baking powder, baking soda, and salt. Add the cold butter and vegetable shortening to the flour mixture. Using a pastry blender or your fingertips, cut the butter and shortening into the flour until the mixture resembles coarse crumbs. In a small bowl, whisk together the ice water and apple cider vinegar. Gradually add the ice water mixture to the flour mixture, mixing until just combined. Be careful not to overmix the dough. Turn the dough out onto a lightly floured surface and gently knead it a few times to bring it together. Form the dough into a disc, wrap it in plastic wrap, and refrigerate for at least 30 minutes, or up to 2 hours.
- Roll and Cut the Crackers: Preheat your oven to 375°F (190°C). Line two baking sheets with parchment paper. Remove the dough from the refrigerator and place it on a lightly floured surface. Divide the dough in half. Roll out one half of the dough into a very thin rectangle, about 1/8 inch thick. Using a pizza cutter or a sharp knife, cut the dough into squares, rectangles, or any shape you desire. Transfer the crackers to the prepared baking sheets, leaving a little space between each cracker. Repeat steps with the remaining dough.
- Add Toppings and Bake: Lightly brush the crackers with water or olive oil. Sprinkle the crackers with everything bagel seasoning, sesame seeds, poppy seeds, coarse salt, or any other toppings you desire. Use a fork to prick each cracker several times. Bake for 10-15 minutes, or until the crackers are golden brown and crispy. Remove the baking sheets from the oven and let the crackers cool completely on the baking sheets before serving.
Notes
- Keep the ingredients cold for flaky layers.
- Don’t overmix the dough to avoid tough crackers.
- Roll the dough out thinly for crispy crackers.
- Prick the crackers with a fork to prevent puffing.
- Let the crackers cool completely before serving for maximum crispness.
- Store in an airtight container at room temperature for several days.
- Flavor Variations: Consider adding cheese, herbs, spices, garlic powder, lemon pepper, or using whole wheat or gluten-free flour.


Leave a Comment