
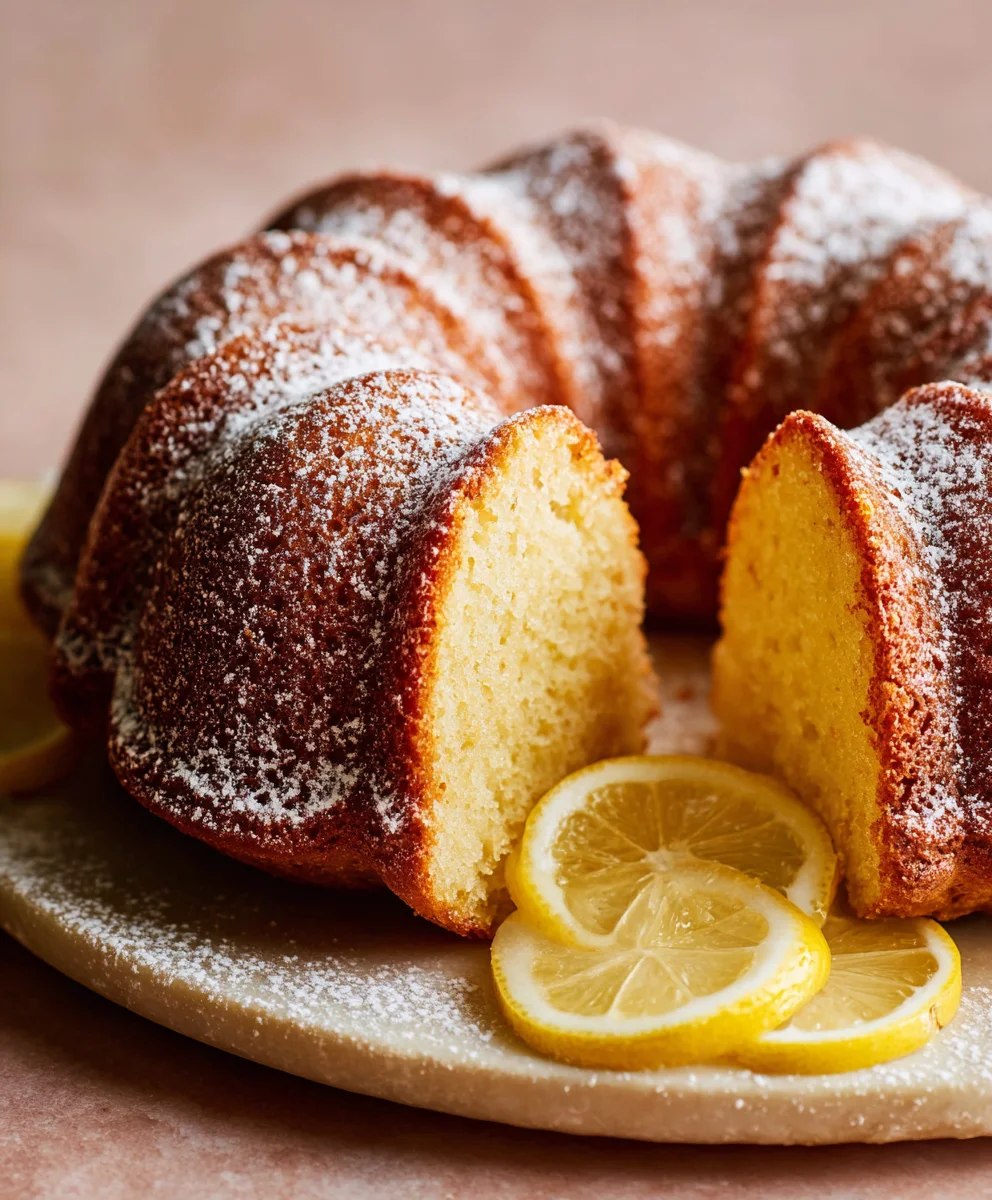
Lemon Bundt Cake is more than just a dessert; it’s a ray of sunshine on a plate, an iconic centerpiece that effortlessly brightens any gathering. From its striking, fluted design to its intoxicating aroma, this cake promises a delightful experience before the first bite even touches your lips. I often find myself reaching for this recipe when I want to create something truly special yet wonderfully approachable.
A Classic with a Zesty Twist
The Bundt cake, with its distinctive shape, has roots in the German Gugelhupf, a rich, yeast-leavened cake, but it was the popularization of the Nordic Ware Bundt pan in the mid-20th century that cemented its place in American baking history. When infused with the vibrant zest and tangy juice of fresh lemons, this classic form transforms into a light, refreshing, and irresistibly moist treat. People adore this Lemon Bundt Cake for its perfect balance of sweet and tart, its incredibly tender crumb, and the elegant simplicity it brings to any table. It’s the kind of dessert that feels both sophisticated and comforting, making it ideal for brunch, an afternoon tea, or as a dazzling finale to dinner. Its sheer versatility and universally loved flavor profile make it a perennial favorite, promising to leave a lasting impression.

Ingredients:
- For the Lemon Bundt Cake:
- 3 cups (360g) All-Purpose Flour: I always make sure to spoon and level my flour for accuracy. Too much flour can make your Lemon Bundt Cake dense, and we’re aiming for light and tender!
- 1 teaspoon Baking Powder: This is our main leavening agent, working with the baking soda to give our cake that beautiful rise.
- 1/2 teaspoon Baking Soda: It reacts with the acidity from the buttermilk and lemon zest to create those lovely air pockets.
- 1/2 teaspoon Salt: A crucial ingredient that enhances all the flavors and balances the sweetness. Don’t skip it!
- 1 cup (226g) Unsalted Butter, softened: Make sure it’s truly at room temperature, not melted. This is key for creaming properly and incorporating air.
- 2 cups (400g) Granulated Sugar: This provides the sweetness and helps create that wonderful tender crumb.
- 4 Large Eggs, at room temperature: Room temperature eggs emulsify better with the butter and sugar, leading to a smoother, more uniform batter. I usually take mine out of the fridge about an hour before I start.
- 1 tablespoon Lemon Zest (from 2-3 medium lemons): This is where a huge amount of our bright lemon flavor comes from! Make sure to only get the yellow part, avoiding the bitter white pith. I love to use a microplane for the finest zest.
- 1 teaspoon Pure Vanilla Extract: While lemon is the star, vanilla adds a warm, aromatic backdrop that complements the citrus beautifully.
- 1 cup (240ml) Buttermilk, at room temperature: The acidity in buttermilk reacts with the leavening agents and contributes to a super moist and tender cake. If you don’t have buttermilk, you can make a quick substitute by adding 1 tablespoon of lemon juice or white vinegar to regular milk and letting it sit for 5-10 minutes.
- 1/4 cup (60ml) Fresh Lemon Juice: This adds another layer of tangy lemon flavor directly into the cake batter, distinct from the zest.
- For the Lemon Glaze:
- 2 cups (240g) Powdered Sugar (Confectioners’ Sugar): Sifted if it’s lumpy, for the smoothest glaze.
- 1/4 cup (60ml) Fresh Lemon Juice: This is the liquid base for our glaze, giving it that vibrant citrus punch.
- 1 tablespoon Unsalted Butter, melted (optional but recommended): A little melted butter gives the glaze a lovely sheen and richness, making it truly irresistible.
Preparing Your Bundt Pan for the Perfect Release
One of the most common anxieties when baking a Bundt cake is whether it will release cleanly from the pan. Trust me, I’ve been there, staring anxiously at an upside-down pan, hoping and praying! But with a few simple steps, we can ensure our beautiful Lemon Bundt Cake slides out effortlessly, preserving all its intricate details. This step is absolutely critical, so don’t rush it!
- First things first, I preheat my oven to 325°F (160°C). This ensures the oven is at the perfect, consistent temperature when our cake is ready to go in. Oven temperature can fluctuate, so giving it time to stabilize is important.
- Next, I grab my 10-12 cup Bundt pan. I find that a good quality non-stick pan helps immensely, but even with the best pan, proper greasing is non-negotiable. I like to use a baking spray that contains flour, like Baker’s Joy or a similar brand. If you don’t have one, don’t worry! You can make your own effective solution.
- If using a baking spray with flour, I generously spray the entire inside surface of the Bundt pan, making sure to get into every nook and cranny, all the flutes, and especially around the center tube. I don’t just do a light mist; I really coat it well.
- Alternatively, if you’re using butter and flour: I melt about 2 tablespoons of unsalted butter and, using a pastry brush, I meticulously brush the melted butter all over the inside of the Bundt pan. Every single curve and crevice needs to be coated. Then, I dust the buttered pan with about 1/4 cup of all-purpose flour. I rotate the pan, tapping it gently, to ensure the flour coats every part of the butter. Once it’s fully coated, I invert the pan over my sink or a piece of parchment paper and tap out any excess flour. You want a thin, even layer of flour, not clumps. This butter-flour method is incredibly reliable for preventing sticking.
- Once your pan is perfectly prepped, set it aside. I often place it on a baking sheet, which makes it easier to transfer in and out of the oven, and also catches any potential drips, keeping my oven cleaner.
Crafting the Moist and Flavorful Lemon Bundt Cake Batter
Now for the fun part: mixing up our delightful Lemon Bundt Cake batter! This process involves several key stages, each designed to incorporate air and develop the perfect texture and flavor. Pay attention to the order and technique; they truly make a difference in the final outcome.
- In a medium bowl, I whisk together my dry ingredients: the 3 cups of all-purpose flour, 1 teaspoon of baking powder, 1/2 teaspoon of baking soda, and 1/2 teaspoon of salt. I make sure to whisk them thoroughly for about 30 seconds to a minute. This ensures the leavening agents and salt are evenly distributed throughout the flour, preventing pockets of unmixed ingredients in the finished cake. Set this dry mixture aside.
- In a large mixing bowl (preferably of a stand mixer fitted with the paddle attachment, but a hand mixer works beautifully too), I combine my 1 cup of softened unsalted butter and 2 cups of granulated sugar. I beat these together on medium-high speed for a good 3 to 5 minutes. This is called the creaming method, and it’s super important. You’ll notice the mixture will lighten in color, becoming pale yellow, and take on a visibly fluffy, airy texture. This step incorporates a lot of air into the butter and sugar, which contributes significantly to the cake’s light and tender crumb. Don’t cut this step short!
- Now, I add the eggs one at a time, beating well after each addition. After adding an egg, I usually beat for about 30 seconds to a minute, ensuring it’s fully incorporated before adding the next. If you add them all at once, the mixture might curdle. Scrape down the sides of the bowl with a rubber spatula frequently during this process to ensure everything is evenly mixed. After all four eggs are in and beaten, the mixture should look smooth and creamy.
- Next, I add the star of the show: 1 tablespoon of fresh lemon zest and 1 teaspoon of pure vanilla extract. I beat this on medium speed for about 30 seconds, just until the zest is fragrant and evenly distributed throughout the mixture. Oh, the aroma at this point is simply heavenly!
- In a separate small bowl or liquid measuring cup, I whisk together my 1 cup of room temperature buttermilk and 1/4 cup of fresh lemon juice. This combination of dairy and acidity will be added to our dry ingredients and helps activate the leavening agents.
- Now, we’ll alternate adding the dry ingredients and the buttermilk mixture to the wet ingredients. I start by adding about one-third of the dry ingredients to the butter mixture, beating on low speed just until combined – and I mean just combined, overmixing develops gluten and can lead to a tough cake.
- Then, I add half of the buttermilk mixture, again mixing on low speed until almost combined. Scrape down the sides of the bowl.
- Repeat the process: add the second third of the dry ingredients, mix on low.
- Follow with the remaining half of the buttermilk mixture, mixing on low.
- Finally, add the last third of the dry ingredients. Mix on the absolute lowest speed, just until no streaks of flour remain. It’s crucial not to overmix the batter at this stage. Overmixing can lead to a dry, dense cake, and we want a light, moist Lemon Bundt Cake! Once the last bit of flour disappears, I stop the mixer immediately. A few small lumps are perfectly fine and often indicate you haven’t overmixed.
- Using my rubber spatula, I give the batter one final, gentle fold by hand, making sure to scrape the bottom and sides of the bowl to catch any unmixed pockets. This ensures everything is perfectly uniform.
- I then carefully spoon the glorious batter into my prepared Bundt pan. I spread it evenly using the back of my spatula, pushing it gently up the sides of the pan. This helps ensure an even rise and prevents a “dome” from forming on the bottom of the cake (which will be the top when inverted).
Baking Your Zesty Lemon Bundt Cake to Golden Perfection
The moment of truth! Into the oven our beautiful batter goes. Baking a Bundt cake takes a bit of time, and patience is key. We want a perfectly golden-brown exterior and a thoroughly cooked, moist interior. Resist the urge to open the oven door too early!
- Carefully transfer the Bundt pan to the preheated 325°F (160°C) oven. I always place it on the center rack for even heat distribution.
- Bake for approximately 60-75 minutes. Baking times can vary quite a bit depending on your specific oven and the material of your Bundt pan. I recommend starting to check for doneness around the 60-minute mark.
- How to check for doneness: I gently insert a long wooden skewer or a thin knife into the thickest part of the cake (usually near the center tube, but not through it). When the cake is done, the skewer should come out clean, with no wet batter clinging to it. If it comes out with wet batter, I return the cake to the oven and continue baking for another 5-10 minutes, then check again.
- Once the skewer comes out clean, I carefully remove the Bundt pan from the oven. It will be very hot! I place the pan on a wire rack to cool for exactly 10-15 minutes. This cooling period in the pan is crucial. It allows the cake to set up and pull away slightly from the sides of the pan, making it easier to invert without sticking or breaking. If you try to invert it too soon, it might break. If you let it cool too long in the pan, it might stick.
- After the 10-15 minute cooling period, I place my wire rack directly over the top of the Bundt pan. Then, holding the rack firmly against the pan, I quickly but confidently invert the cake onto the wire rack. If you’ve prepared your pan correctly, it should slide right out! If it doesn’t, a gentle tap on the bottom of the pan often helps.
- I then remove the Bundt pan and admire my beautifully shaped Lemon Bundt Cake! Now, the cake needs to cool completely on the wire rack before glazing. This typically takes at least 1-2 hours, sometimes longer, depending on your kitchen’s temperature. Glazing a warm cake will result in a runny, absorbed glaze rather than a lovely, thick coating. Patience is a virtue here!
Whipping Up the Zesty Lemon Glaze
While our cake cools, it’s the perfect time to prepare our bright, tangy lemon glaze. This glaze is the crowning glory of our Lemon Bundt Cake, adding another burst of citrus flavor and a beautiful, shiny finish.
- In a medium bowl, I combine the 2 cups of powdered sugar and 1/4 cup of fresh lemon juice. If my powdered sugar has any lumps, I make sure to sift it first for the smoothest possible glaze.
- If I’m opting for the optional melted butter (and I usually do, it adds such a nice sheen and richness!), I melt 1 tablespoon of unsalted butter and whisk it into the powdered sugar and lemon juice mixture.
- I whisk the glaze ingredients together until it’s completely smooth and free of lumps. The consistency should be thick but pourable – think a thick syrup, not water. If it’s too thick, I add a tiny bit more lemon juice (1/2 teaspoon at a time) until it reaches the desired consistency. If it’s too thin, I whisk in a little more powdered sugar (1 tablespoon at a time). The key is to get it just right for that perfect cascade down the cake.
Glazing and Serving Your Irresistible Lemon Bundt Cake
Our cake is cool, our glaze is ready. It’s time to bring it all together and create a showstopper! The glazing process is simple but incredibly satisfying.
- Once the Lemon Bundt Cake is completely cool to the touch, I place the wire rack (with the cake on it) over a piece of parchment paper or a large plate. This will catch any drips from the glaze, making cleanup a breeze.
- Using a spoon or a small measuring cup, I slowly pour the lemon glaze evenly over the top of the cake, allowing it to drip down the sides and into the flutes. I like to start in the center and work my way outwards, ensuring all the nooks and crannies get a lovely coating. You can go for a light drizzle or a more generous coating – it’s entirely up to your preference!
- I let the glaze set for about 15-30 minutes, or until it’s slightly firm to the touch. This allows the glaze to adhere beautifully to the cake and develop a slight crust.
- Once the glaze is set, your magnificent Lemon Bundt Cake is ready to be admired and, more importantly, devoured! Using a sharp, serrated knife, I slice the cake and serve it with a fresh cup of tea or coffee.
- Storing Your Lemon Bundt Cake: This cake is best enjoyed within 2-3 days. I store any leftovers loosely covered at room temperature. For longer storage, you can keep it in an airtight container in the refrigerator for up to a week, or freeze individual slices for up to 2-3 months. Just make sure to bring it back to room temperature before serving for the best flavor and texture.
Conclusion:
This isn’t just any dessert; it’s a celebration of citrus, a beacon of home baking that brightens any table it graces. I genuinely believe that once you taste the exquisite balance of tangy lemon and sweet, tender crumb in this recipe, it will become an instant classic in your kitchen. We’ve journeyed through the simple steps to create a show-stopping dessert that truly delivers on flavor and presentation. The beauty of this particular recipe lies in its ability to be both effortlessly elegant and comforting at the same time. The moist texture, the vibrant, zesty aroma that fills your home as it bakes, and that unforgettable bright, fresh flavor—these are the hallmarks of a truly exceptional treat. It’s the kind of cake that makes people ask for the recipe, the kind that disappears quickly from the dessert table, and the kind you’ll find yourself craving time and again. There’s a distinct joy in baking something so beautiful, and an even greater one in sharing it.
Now that you’re armed with the knowledge to bake this masterpiece, let’s talk about how to make it even more special for various occasions. While the simple, glistening lemon glaze we’ve discussed is truly perfect on its own, don’t hesitate to elevate your Lemon Bundt Cake with a few additional touches. Imagine serving a slice with a generous dollop of freshly whipped cream, perhaps infused with a hint of vanilla bean or a touch of Grand Marnier for an adult twist. For a burst of color and a touch of tartness that complements the cake beautifully, fresh berries are an absolute must. A handful of glistening raspberries, blueberries, or sliced strawberries scattered around the plate adds both visual appeal and a delightful textural contrast. If you’re feeling adventurous, a quick berry compote, gently simmered on the stovetop, can take this cake from delightful to absolutely divine. Think about a spoonful of warm blackberry or cherry compote cascading over the cake.
Beyond fresh toppings, consider when and how you’ll serve it. It’s perfect for a sophisticated brunch spread, a light dessert after a rich meal, or simply as a delightful companion to your afternoon tea or coffee. This cake is incredibly versatile. For variations within the recipe itself, you could experiment with adding poppy seeds to the batter for a classic lemon-poppy seed combination, which adds a subtle crunch and earthy note. A tiny pinch of cardamom can introduce a warm, exotic undertone that pairs surprisingly well with lemon. Or, if you love a richer texture, consider swirling a dollop of cream cheese mixture into the batter before baking – a delightful surprise for those who cut into it. The possibilities truly are endless, and each small tweak can create a new favorite.
I truly hope this recipe inspires you to preheat your oven and embark on your own baking adventure. There’s nothing quite like the satisfaction of creating something so delicious from scratch, and I promise you, the smiles and compliments you’ll receive will make every moment worthwhile. Don’t hesitate, take the plunge! This is a recipe designed for success, even if you’re new to baking Bundt cakes. I’ve broken down every step to ensure a smooth and enjoyable process. Once your magnificent cake has cooled and been devoured, I absolutely cannot wait to hear about your experience. Please, share your triumphs, your serving ideas, or any creative variations you tried in the comments section below. Did you serve it with a specific type of tea? Did you add a unique topping? Your stories and photos not only thrill me but also inspire fellow bakers in our community. Let’s celebrate the joy of baking together. Happy baking, my friends, and I look forward to hearing all about your stunning citrus creation!

Lemon Bundt Cake
A classic, zesty, and moist Lemon Bundt Cake recipe with a vibrant lemon glaze, perfect for any occasion. Its tender crumb and balanced sweet-tart flavor make it a beloved dessert.
Ingredients
-
3 cups (360g) All-Purpose Flour
-
1 tsp Baking Powder
-
1/2 tsp Baking Soda
-
1/2 tsp Salt
-
1 cup (226g) Unsalted Butter, softened
-
2 cups (400g) Granulated Sugar
-
4 Large Eggs, room temp
-
1 tbsp Lemon Zest (from 2-3 lemons)
-
1 tsp Pure Vanilla Extract
-
1 cup (240ml) Buttermilk, room temp
-
1/4 cup (60ml) Fresh Lemon Juice (for cake)
-
For the Lemon Glaze:
-
2 cups (240g) Powdered Sugar
-
1/4 cup (60ml) Fresh Lemon Juice (for glaze)
-
1 tbsp Unsalted Butter, melted (optional)
Instructions
-
Step 1
Preheat oven to 325°F (160°C). Generously grease a 10-12 cup Bundt pan using baking spray with flour, or meticulously brush with 2 tablespoons melted butter and dust with 1/4 cup all-purpose flour, tapping out excess. Place on a baking sheet. -
Step 2
In a medium bowl, whisk together 3 cups (360g) all-purpose flour, 1 teaspoon baking powder, 1/2 teaspoon baking soda, and 1/2 teaspoon salt. Set aside. -
Step 3
In a large mixing bowl, cream 1 cup (226g) softened unsalted butter and 2 cups (400g) granulated sugar on medium-high speed for 3-5 minutes until light and fluffy. -
Step 4
Add 4 large eggs one at a time, beating well after each. Scrape down the bowl. Stir in 1 tablespoon lemon zest and 1 teaspoon pure vanilla extract. -
Step 5
In a separate small bowl, whisk together 1 cup (240ml) room temperature buttermilk and 1/4 cup (60ml) fresh lemon juice. -
Step 6
Alternately add the dry ingredients (in three additions) and the buttermilk mixture (in two additions) to the wet ingredients, starting and ending with dry. Mix on low speed until just combined, ensuring not to overmix. Gently fold by hand for uniformity. -
Step 7
Spoon batter evenly into the prepared Bundt pan. Bake for 60-75 minutes, or until a wooden skewer inserted into the thickest part comes out clean. -
Step 8
Remove from oven and cool in the pan for 10-15 minutes. Invert the cake onto a wire rack to cool completely for 1-2 hours before glazing. -
Step 9
In a medium bowl, whisk together 2 cups (240g) powdered sugar and 1/4 cup (60ml) fresh lemon juice until smooth and pourable. (Optional: whisk in 1 tablespoon melted unsalted butter). Adjust consistency with more sugar or lemon juice if needed. -
Step 10
Place the cooled cake (on the wire rack) over parchment paper. Slowly pour the lemon glaze evenly over the top, allowing it to drip down the sides. Let the glaze set for 15-30 minutes before slicing and serving. -
Step 11
Store leftovers loosely covered at room temperature for 2-3 days, or refrigerate for up to a week. For longer storage, freeze individual slices for up to 2-3 months.
Important Information
Nutrition Facts (Per Serving)
It is important to consider this information as approximate and not to use it as definitive health advice.
Allergy Information
Please check ingredients for potential allergens and consult a health professional if in doubt.


Leave a Comment