
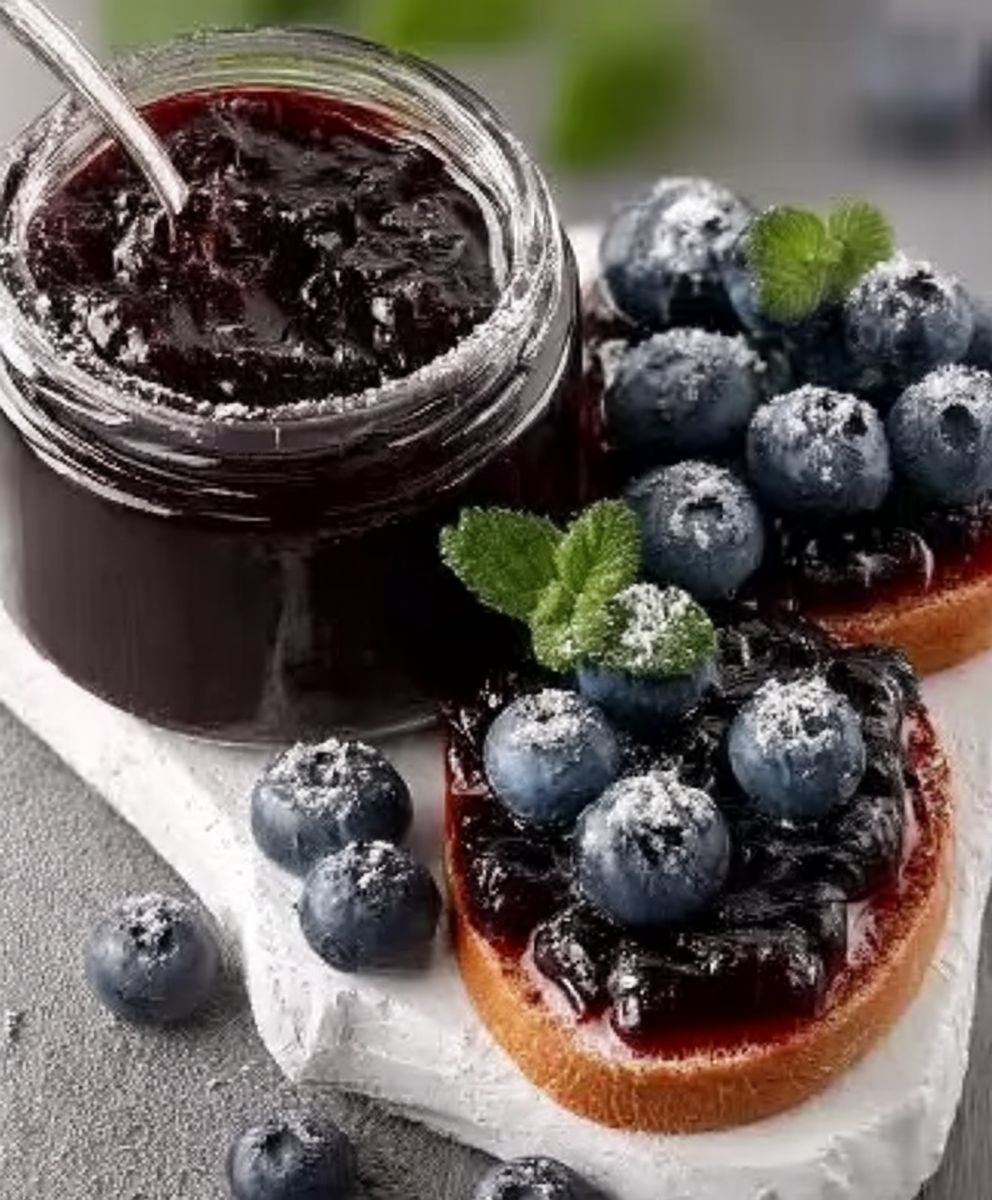
Easy Blueberry Jam, bursting with fresh, sweet-tart flavor, is a delightful addition to any pantry. Imagine spreading a generous dollop of homemade blueberry goodness on your morning toast, swirling it into your yogurt, or using it as a delectable filling for pastries. This isn’t just any jam; it’s a taste of summer captured in a jar, and the best part? It’s incredibly simple to make!
While the exact origins of fruit preserves are debated, the practice of preserving fruits with sugar dates back centuries. From ancient civilizations using honey to preserve fruits to the development of modern canning techniques, jam has always been a way to savor seasonal flavors year-round. Blueberries themselves have a rich history, particularly in North America, where they were a staple food for indigenous peoples long before European colonization. They recognized the berry’s nutritional value and used it in various dishes and medicinal remedies.
People adore easy blueberry jam for its vibrant taste and versatility. The combination of sweet and slightly tart blueberries creates a flavor profile that’s both refreshing and comforting. Its smooth, spreadable texture makes it perfect for countless culinary applications. Plus, the convenience of making your own jam at home, knowing exactly what ingredients are going in, is a huge draw. Forget store-bought versions loaded with artificial ingredients; with this recipe, you can create a truly authentic and delicious treat that your family and friends will rave about.

Ingredients:
- 6 cups fresh blueberries, rinsed and stemmed
- 4 cups granulated sugar
- 1/4 cup lemon juice, freshly squeezed
- 1/2 teaspoon butter or margarine (to reduce foaming)
- Pinch of salt (optional, enhances flavor)
Preparing the Blueberries:
Before we dive into the actual jam-making process, let’s make sure our blueberries are prepped and ready to go. This step is crucial for achieving the best possible flavor and texture in our final product. I always find that taking a little extra time here pays off in the long run.
- Rinsing the Blueberries: Start by placing your blueberries in a colander. Gently rinse them under cool, running water. Be careful not to crush them! We just want to remove any dirt, debris, or stray leaves that might be clinging to them.
- Stemming the Blueberries: After rinsing, spread the blueberries out on a clean kitchen towel or paper towels. Inspect them carefully and remove any remaining stems. While a few stray stems won’t ruin the jam, removing them ensures a smoother, more pleasant texture.
- Crushing (Optional): For a smoother jam, you can lightly crush about one cup of the blueberries. This helps release their juices and pectin, which will aid in the thickening process. You can use a potato masher or the back of a fork for this. If you prefer a chunkier jam, skip this step entirely. I personally like a little bit of both, so I usually crush about half a cup.
Cooking the Jam:
Now comes the fun part transforming those beautiful blueberries into a luscious, homemade jam! This stage requires a bit of patience and attention, but trust me, the aroma alone is worth the effort. We’ll be cooking the blueberries down until they reach the perfect consistency, so keep a close eye on them.
- Combining Ingredients: In a large, heavy-bottomed pot (stainless steel or enamel-coated cast iron works best), combine the blueberries, sugar, lemon juice, butter (or margarine), and salt (if using). The heavy bottom of the pot will help prevent the jam from scorching.
- Initial Cooking: Place the pot over medium heat. Stir constantly until the sugar dissolves completely. This is important to prevent the sugar from burning on the bottom of the pot. You’ll notice the mixture will start to become more liquid as the sugar dissolves and the blueberries release their juices.
- Bringing to a Boil: Once the sugar is dissolved, increase the heat to medium-high and bring the mixture to a rolling boil. A rolling boil is a boil that continues even when you stir it. Be careful, as the jam can bubble up quickly!
- Cooking to Setting Point: Continue to cook the jam at a rolling boil, stirring frequently to prevent sticking and burning. This is where the magic happens! The jam will gradually thicken as the water evaporates. This process can take anywhere from 15 to 30 minutes, depending on the heat and the moisture content of your blueberries.
- Testing for Doneness: This is the most crucial step! There are a few ways to test if your jam has reached the setting point:
- The Cold Plate Test: Place a small plate in the freezer before you start cooking the jam. When you think the jam is almost ready, remove the plate from the freezer and drop a small spoonful of jam onto the cold plate. Return the plate to the freezer for about 30 seconds. Then, push the jam with your finger. If it wrinkles and forms a skin, it’s ready! If it’s still runny, continue cooking for a few more minutes and test again.
- The Temperature Test: If you have a candy thermometer, you can use it to check the temperature of the jam. The setting point for jam is typically around 220°F (104°C). Make sure the thermometer is not touching the bottom of the pot when you take the reading.
- The Spoon Test: Dip a cold metal spoon into the jam and lift it out. If the jam drips off the spoon in sheets or clumps together, rather than running off in a thin stream, it’s likely ready.
- Skimming the Foam: As the jam cooks, you’ll notice foam forming on the surface. This is perfectly normal and is caused by impurities in the fruit. Use a spoon to skim off the foam and discard it. This will result in a clearer, more visually appealing jam.
Canning the Jam (Optional):
If you want to preserve your blueberry jam for longer storage, canning is the way to go. This process involves sterilizing jars and lids, filling them with hot jam, and then processing them in a boiling water bath to create a vacuum seal. This prevents spoilage and allows you to enjoy your homemade jam for months to come. If you don’t want to can the jam, you can simply store it in the refrigerator for up to two weeks.
- Sterilizing Jars and Lids: Wash your canning jars and lids in hot, soapy water. Rinse them thoroughly. Place the jars in a large pot and cover them with water. Bring the water to a boil and boil for 10 minutes. Remove the jars from the water and place them upside down on a clean towel to dry. Place the lids in a separate saucepan and cover them with water. Bring the water to a simmer and keep them hot until ready to use.
- Filling the Jars: Ladle the hot jam into the sterilized jars, leaving 1/4 inch of headspace (the space between the top of the jam and the rim of the jar). Use a clean, damp cloth to wipe the rims of the jars to remove any spills or drips.
- Sealing the Jars: Place the sterilized lids on the jars and screw on the bands until they are fingertip tight (not too tight, not too loose).
- Processing in a Boiling Water Bath: Place the filled jars in a boiling water bath canner. Make sure the water covers the jars by at least 1 inch. Bring the water to a rolling boil and process the jars for 10 minutes for half-pint or pint jars. Adjust processing time for altitude: For 1,001 to 3,000 feet, add 5 minutes. For 3,001 to 6,000 feet, add 10 minutes. For 6,001 to 8,000 feet, add 15 minutes. For 8,001 to 10,000 feet, add 20 minutes.
- Cooling and Checking the Seals: Turn off the heat and let the jars sit in the canner for 5 minutes before removing them. Carefully remove the jars from the canner and place them on a towel-lined surface to cool completely. As the jars cool, you should hear a popping sound as the lids seal. After the jars have cooled completely (about 12-24 hours), check the seals by pressing down on the center of each lid. If the lid doesn’t flex or pop back up, it’s properly sealed. If the lid flexes, the jar is not sealed and should be refrigerated and used within a few weeks.
- Storing the Jam: Store your sealed jars of blueberry jam in a cool, dark place. Properly canned jam can last for up to a year or more.
Refrigerating the Jam (No Canning):
If you prefer not to can your jam, that’s perfectly fine! You can still enjoy your homemade blueberry jam by storing it in the refrigerator. This method is quicker and easier, but the jam will have a shorter shelf life.
- Cooling the Jam: Allow the jam to cool slightly in the pot before transferring it to clean jars or containers.
- Transferring to Jars: Pour the jam into clean jars or airtight containers, leaving a little headspace at the top.
- Refrigerating: Seal the jars or containers tightly and store them in the refrigerator. Refrigerated blueberry jam will typically last for up to two weeks.
Tips and Tricks for Perfect Blueberry Jam:
Here are a few extra tips and tricks that I’ve learned over the years to help you make the best possible blueberry jam:
- Use High-Quality Blueberries: The flavor of your jam will only be as good as the blueberries you use. Choose fresh, ripe, and flavorful blueberries for the best results.
- Don’t Overcook the Jam: Overcooked jam can become too thick and sticky. Be sure to test for doneness frequently and remove the jam from the heat as soon as it reaches the setting point.
- Adjust Sugar to Taste: The amount of sugar in this recipe is a guideline. You can adjust it to your liking, depending on the sweetness of your blueberries
Conclusion:
This Easy Blueberry Jam recipe isn’t just another jam recipe; it’s a burst of summer sunshine bottled for you to enjoy all year round! From its incredibly simple preparation to its vibrant flavor, this jam is a game-changer for breakfast, desserts, and everything in between. I truly believe that once you try this recipe, you’ll never go back to store-bought jam again. It’s that good!
Think about it: the deep, rich sweetness of perfectly ripe blueberries, cooked down to a luscious, spreadable consistency. The aroma alone will fill your kitchen with warmth and happiness. And the best part? You control the ingredients, ensuring a jam that’s free from artificial preservatives and bursting with natural goodness.
But the deliciousness doesn’t stop there! This jam is incredibly versatile. Spread it generously on your morning toast or English muffins for a delightful start to the day. Swirl it into your yogurt or oatmeal for an extra layer of flavor and sweetness. Use it as a filling for thumbprint cookies or a glaze for grilled chicken or pork. The possibilities are truly endless!
Looking for some serving suggestions or variations? I’ve got you covered! For a touch of warmth, add a pinch of cinnamon or nutmeg to the jam while it’s cooking. If you prefer a slightly tart flavor, a squeeze of lemon juice will do the trick. Want to kick things up a notch? A pinch of red pepper flakes will add a subtle heat that complements the sweetness of the blueberries perfectly.
Consider adding other berries to the mix! A combination of blueberries and raspberries or blueberries and blackberries would create a complex and flavorful jam that’s sure to impress. You could even experiment with adding a splash of vanilla extract or a tablespoon of bourbon for an extra layer of sophistication.
And don’t forget about gifting! A jar of homemade Easy Blueberry Jam makes a thoughtful and delicious present for friends, family, and neighbors. Tie a ribbon around the jar, add a handwritten tag, and you’ve got a personalized gift that’s sure to be appreciated.
I’m so confident that you’ll love this recipe that I urge you to give it a try. It’s a simple, rewarding, and delicious way to preserve the flavors of summer and enjoy them all year round. Plus, making your own jam is incredibly satisfying!
So, what are you waiting for? Gather your ingredients, put on some music, and get ready to create a batch of the most delicious blueberry jam you’ve ever tasted. I promise you won’t regret it.
Once you’ve made your own batch of this incredible Easy Blueberry Jam, I’d love to hear about your experience! Share your photos, tips, and variations in the comments below. Let me know what you think and how you’re enjoying your homemade jam. Happy jamming! I can’t wait to see what you create!
Easy Blueberry Jam: The Simplest Recipe You'll Ever Need
Homemade blueberry jam bursting with fresh flavor. Simple ingredients, perfect on toast, biscuits, or scones. Includes canning instructions or refrigerate for immediate use.
Ingredients
- 6 cups fresh blueberries, rinsed and stemmed
- 4 cups granulated sugar
- 1/4 cup lemon juice, freshly squeezed
- 1/2 teaspoon butter or margarine (to reduce foaming)
- Pinch of salt (optional, enhances flavor)
Instructions
- Gently rinse blueberries in a colander under cool, running water.
- Spread blueberries on a clean towel and remove any remaining stems.
- For a smoother jam, lightly crush about 1 cup of the blueberries with a potato masher or fork.
- In a large, heavy-bottomed pot, combine blueberries, sugar, lemon juice, butter (or margarine), and salt (if using).
- Place the pot over medium heat. Stir constantly until the sugar dissolves completely.
- Increase the heat to medium-high and bring the mixture to a rolling boil, stirring occasionally.
- Continue to cook at a rolling boil, stirring frequently to prevent sticking, for 15-30 minutes, or until the jam thickens.
- Place a spoonful of jam on a cold plate from the freezer. If it wrinkles when pushed, it’s ready.
- Use a candy thermometer to check the temperature of the jam. The setting point for jam is typically around 220°F (104°C).
- Dip a cold metal spoon into the jam and lift it out. If the jam drips off the spoon in sheets or clumps together, rather than running off in a thin stream, it’s likely ready.
- Skim off any foam that forms on the surface of the jam.
- Wash jars and lids in hot, soapy water. Rinse thoroughly. Boil jars for 10 minutes. Simmer lids in water until ready to use.
- Ladle hot jam into sterilized jars, leaving 1/4 inch of headspace. Wipe rims clean.
- Place sterilized lids on jars and screw on bands until fingertip tight.
- Place filled jars in a boiling water bath canner. Make sure the water covers the jars by at least 1 inch. Bring the water to a rolling boil and process the jars for 10 minutes for half-pint or pint jars. Adjust processing time for altitude: For 1,001 to 3,000 feet, add 5 minutes. For 3,001 to 6,000 feet, add 10 minutes. For 6,001 to 8,000 feet, add 15 minutes. For 8,001 to 10,000 feet, add 20 minutes.
- Turn off the heat and let the jars sit in the canner for 5 minutes before removing them. Carefully remove the jars from the canner and place them on a towel-lined surface to cool completely. Check seals after 12-24 hours. Lids should not flex when pressed.
- Store sealed jars in a cool, dark place for up to a year.
- Allow the jam to cool slightly in the pot before transferring it to clean jars or containers.
- Pour the jam into clean jars or airtight containers, leaving a little headspace at the top.
- Seal the jars or containers tightly and store them in the refrigerator. Refrigerated blueberry jam will typically last for up to two weeks.
Notes
- Use high-quality, ripe blueberries for the best flavor.
- Don’t overcook the jam, as it can become too thick.
- Adjust sugar to taste based on the sweetness of the blueberries.
- Canning is optional; refrigerate jam if not canning.


Leave a Comment