
Crescent rolls homemade, warm from the oven, are a simple pleasure that elevates any meal. Imagine the aroma of buttery dough filling your kitchen, the anticipation building as you watch them turn golden brown. Forget the store-bought versions; once you’ve tasted the flaky, melt-in-your-mouth goodness of homemade crescent rolls, you’ll never go back!
While the exact origins are debated, crescent-shaped pastries have a long and delicious history, with variations found across Europe. The French croissant, a close relative, is perhaps the most famous. But these crescent rolls homemade are uniquely comforting and versatile. They’re perfect for holidays, potlucks, or even a cozy weeknight dinner.
What makes these rolls so irresistible? It’s the perfect combination of a slightly crisp exterior and a soft, pillowy interior. The buttery flavor is undeniably addictive, and their simple elegance makes them a crowd-pleaser. Plus, they’re surprisingly easy to make! I’m going to guide you through each step, ensuring your homemade crescent rolls are a resounding success. Get ready to impress your family and friends with this classic recipe!

Ingredients:
- 2 cups all-purpose flour, plus more for dusting
- 1 teaspoon salt
- 1 cup (2 sticks) cold unsalted butter, cut into small cubes
- ¾ cup ice water
- 1 tablespoon active dry yeast
- ¼ cup warm water (105-115°F)
- ¼ cup granulated sugar
- 1 large egg, lightly beaten, for egg wash
Preparing the Dough:
- Activate the Yeast: In a small bowl, dissolve the yeast and sugar in the warm water. Let it stand for 5-10 minutes, or until foamy. This indicates that the yeast is active and ready to use. If it doesn’t foam, your yeast might be old and you’ll need to start with a fresh batch.
- Combine Dry Ingredients: In a large bowl, whisk together the flour and salt. This ensures the salt is evenly distributed throughout the flour.
- Incorporate the Butter: Add the cold, cubed butter to the flour mixture. Using a pastry blender or your fingertips, cut the butter into the flour until the mixture resembles coarse crumbs. The key here is to keep the butter cold; this will create flaky layers in the final rolls. Don’t overmix! You want to see small pieces of butter throughout the flour.
- Add Yeast Mixture and Water: Pour the yeast mixture and ice water into the flour and butter mixture. Mix gently with a wooden spoon or spatula until just combined. The dough will be shaggy and may seem a bit dry at first, but avoid overmixing.
- Turn Out and Knead (Briefly): Turn the dough out onto a lightly floured surface. Knead it gently for just a few turns, about 1-2 minutes, until it comes together into a rough ball. Don’t overwork the dough at this stage; we’re just bringing it together.
- First Rise (Refrigeration): Wrap the dough tightly in plastic wrap and refrigerate for at least 2 hours, or preferably overnight. This chilling period is crucial for developing flavor and relaxing the gluten, making the dough easier to work with later. You can even refrigerate it for up to 24 hours.
Laminating the Dough (Creating Layers):
- First Roll and Fold: On a lightly floured surface, roll the chilled dough into a large rectangle, about 12×18 inches. The dough should be about ¼ inch thick.
- First Fold (Letter Fold): Fold the dough into thirds, like folding a letter. First, fold one-third of the dough over towards the center, then fold the other third over the top. This creates three layers.
- Wrap and Chill: Wrap the folded dough tightly in plastic wrap and refrigerate for 30 minutes. This allows the gluten to relax again, preventing the dough from snapping back when you roll it out.
- Second Roll and Fold: Repeat the rolling and folding process. Roll the chilled dough into another 12×18 inch rectangle.
- Second Fold (Letter Fold): Fold the dough into thirds again, just like before.
- Wrap and Chill: Wrap the folded dough tightly in plastic wrap and refrigerate for another 30 minutes.
- Third Roll and Fold: Repeat the rolling and folding process one more time. Roll the chilled dough into another 12×18 inch rectangle.
- Third Fold (Letter Fold): Fold the dough into thirds again.
- Final Chill: Wrap the folded dough tightly in plastic wrap and refrigerate for at least 1 hour, or up to 2 hours. This final chill is important for ensuring the butter stays cold and the dough is easy to handle.
Shaping the Crescent Rolls:
- Divide the Dough: On a lightly floured surface, roll the chilled dough into a large circle, about 12-14 inches in diameter. A pizza cutter or sharp knife works best for this.
- Cut into Triangles: Using a pizza cutter or sharp knife, cut the circle into 12 equal triangles. Imagine slicing a pizza.
- Shape the Rolls: Starting at the wide end of each triangle, gently stretch the dough slightly and then roll it up towards the point. This creates the classic crescent shape.
- Place on Baking Sheet: Place the shaped rolls on a baking sheet lined with parchment paper, leaving about 2 inches of space between each roll.
Proofing and Baking:
- Proofing: Cover the baking sheet with a clean kitchen towel and let the rolls proof in a warm place for about 1-1.5 hours, or until they have doubled in size. The rolls should feel light and airy. A slightly warm oven (turned off!) can be a good place to proof them.
- Preheat Oven: Preheat your oven to 375°F (190°C).
- Egg Wash: In a small bowl, lightly beat the egg. Brush the tops of the proofed rolls with the egg wash. This will give them a beautiful golden-brown color.
- Bake: Bake the rolls for 15-20 minutes, or until they are golden brown and cooked through. The internal temperature should reach around 200°F (93°C).
- Cool and Serve: Let the rolls cool on the baking sheet for a few minutes before transferring them to a wire rack to cool completely. Serve warm and enjoy!
Tips for Success:
- Keep the Butter Cold: This is the most important tip for flaky crescent rolls. Cold butter creates steam as it bakes, which separates the layers of dough.
- Don’t Overmix: Overmixing develops the gluten, which can result in tough rolls. Mix the dough just until combined.
- Chill Time is Crucial: The chilling periods allow the gluten to relax and the butter to firm up, making the dough easier to work with and creating flaky layers. Don’t skip these steps!
- Proofing is Key: Proofing allows the yeast to work its magic, creating light and airy rolls. Make sure the rolls have doubled in size before baking.
- Experiment with Fillings: Once you’ve mastered the basic recipe, you can experiment with fillings like chocolate, cheese, or ham. Just add the filling before rolling up the triangles.
Troubleshooting:
- Rolls are not flaky: The butter was likely not cold enough. Make sure to keep the butter cold throughout the process and chill the dough for the recommended amount of time.
- Rolls are tough: The dough was likely overmixed. Mix the dough just until combined and avoid overworking it.
- Rolls are not rising: The yeast may be old or the water was too hot or too cold. Make sure to use fresh yeast and water that is between 105-115°F. Also, ensure the proofing environment is warm enough.
- Rolls are browning too quickly: Reduce the oven temperature slightly or cover the rolls loosely with foil during the last few minutes of baking.
Conclusion:
Well, there you have it! I truly believe this recipe for homemade crescent rolls is a must-try for anyone who appreciates the simple pleasure of warm, flaky bread. Forget the store-bought versions once you experience the melt-in-your-mouth texture and buttery flavor of these freshly baked rolls, you’ll never go back. The aroma alone, wafting through your kitchen as they bake, is enough to make your mouth water and fill your home with a sense of cozy comfort.
But beyond the incredible taste, what makes this recipe so special is its versatility. These aren’t just your average dinner rolls; they’re a blank canvas for culinary creativity! Imagine serving them alongside a hearty bowl of chili on a chilly evening, or using them to create miniature ham and cheese sandwiches for a delightful brunch. They’re also fantastic with a simple pat of butter and a sprinkle of sea salt, allowing their inherent flavor to truly shine.
And speaking of versatility, don’t be afraid to experiment with variations! For a sweeter treat, brush the tops with melted butter and sprinkle with cinnamon sugar before baking. Or, for a savory twist, add a pinch of garlic powder or Italian seasoning to the dough. You could even incorporate shredded cheese, chopped herbs, or sun-dried tomatoes for a truly unique and flavorful roll. Think about adding a touch of honey to the dough for a subtle sweetness that complements savory fillings beautifully. The possibilities are truly endless!
Serving Suggestions and Creative Twists
Consider serving these homemade crescent rolls warm with a selection of flavored butters think honey butter, garlic herb butter, or even a spicy chili butter for those who like a little kick. They’re also a perfect accompaniment to soups, salads, and pasta dishes. For a fun and interactive appetizer, set out a platter of warm rolls alongside various dips and spreads, allowing your guests to create their own personalized bites.
For a truly decadent experience, try using these rolls to make mini breakfast sandwiches. Fill them with scrambled eggs, crispy bacon, and melted cheese for a satisfying and portable breakfast treat. Or, for a sweet indulgence, fill them with Nutella or your favorite jam and bake until golden brown.
Don’t be intimidated by the thought of making your own dough. This recipe is surprisingly simple and straightforward, and I’ve included plenty of tips and tricks to ensure your success. With a little patience and a few basic ingredients, you’ll be whipping up batches of these delectable rolls in no time.
So, what are you waiting for? Gather your ingredients, preheat your oven, and get ready to embark on a baking adventure. I promise you won’t be disappointed. And most importantly, don’t forget to share your creations! I’d love to hear about your experience making these homemade crescent rolls and see your own creative variations. Share your photos and comments on social media using [Your Hashtag Here], and let’s spread the joy of homemade baking together! I can’t wait to see what you come up with! Happy baking!
Crescent Rolls Homemade: The Ultimate Guide to Baking Perfection
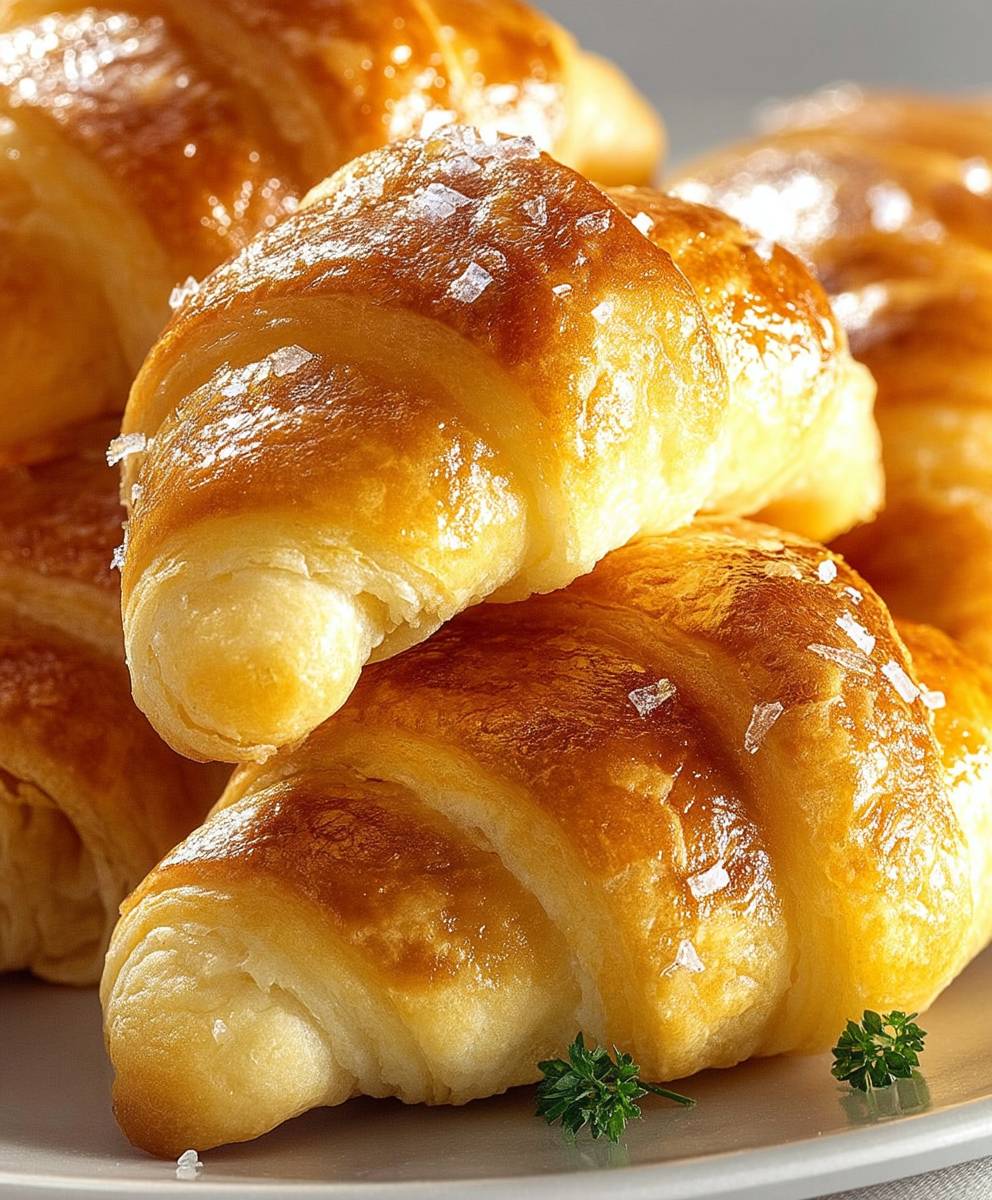
Flaky, buttery homemade crescent rolls. Perfect for breakfast, brunch, or as a side dish.
Ingredients
- 2 cups all-purpose flour, plus more for dusting
- 1 teaspoon salt
- 1 cup (2 sticks) cold unsalted butter, cut into small cubes
- ¾ cup ice water
- 1 tablespoon active dry yeast
- ¼ cup warm water (105-115°F)
- ¼ cup granulated sugar
- 1 large egg, lightly beaten, for egg wash
Instructions
- Activate the Yeast: In a small bowl, dissolve the yeast and sugar in the warm water. Let it stand for 5-10 minutes, or until foamy.
- Combine Dry Ingredients: In a large bowl, whisk together the flour and salt.
- Incorporate the Butter: Add the cold, cubed butter to the flour mixture. Using a pastry blender or your fingertips, cut the butter into the flour until the mixture resembles coarse crumbs.
- Add Yeast Mixture and Water: Pour the yeast mixture and ice water into the flour and butter mixture. Mix gently with a wooden spoon or spatula until just combined.
- Turn Out and Knead (Briefly): Turn the dough out onto a lightly floured surface. Knead it gently for just a few turns, about 1-2 minutes, until it comes together into a rough ball.
- First Rise (Refrigeration): Wrap the dough tightly in plastic wrap and refrigerate for at least 2 hours, or preferably overnight.
- First Roll and Fold: On a lightly floured surface, roll the chilled dough into a large rectangle, about 12×18 inches. The dough should be about ¼ inch thick.
- First Fold (Letter Fold): Fold the dough into thirds, like folding a letter. First, fold one-third of the dough over towards the center, then fold the other third over the top. This creates three layers.
- Wrap and Chill: Wrap the folded dough tightly in plastic wrap and refrigerate for 30 minutes.
- Second Roll and Fold: Repeat the rolling and folding process. Roll the chilled dough into another 12×18 inch rectangle.
- Second Fold (Letter Fold): Fold the dough into thirds again, just like before.
- Wrap and Chill: Wrap the folded dough tightly in plastic wrap and refrigerate for another 30 minutes.
- Third Roll and Fold: Repeat the rolling and folding process one more time. Roll the chilled dough into another 12×18 inch rectangle.
- Third Fold (Letter Fold): Fold the dough into thirds again.
- Final Chill: Wrap the folded dough tightly in plastic wrap and refrigerate for at least 1 hour, or up to 2 hours.
- Divide the Dough: On a lightly floured surface, roll the chilled dough into a large circle, about 12-14 inches in diameter.
- Cut into Triangles: Using a pizza cutter or sharp knife, cut the circle into 12 equal triangles.
- Shape the Rolls: Starting at the wide end of each triangle, gently stretch the dough slightly and then roll it up towards the point.
- Place on Baking Sheet: Place the shaped rolls on a baking sheet lined with parchment paper, leaving about 2 inches of space between each roll.
- Proofing: Cover the baking sheet with a clean kitchen towel and let the rolls proof in a warm place for about 1-1.5 hours, or until they have doubled in size.
- Preheat Oven: Preheat your oven to 375°F (190°C).
- Egg Wash: In a small bowl, lightly beat the egg. Brush the tops of the proofed rolls with the egg wash.
- Bake: Bake the rolls for 15-20 minutes, or until they are golden brown and cooked through. The internal temperature should reach around 200°F (93°C).
- Cool and Serve: Let the rolls cool on the baking sheet for a few minutes before transferring them to a wire rack to cool completely. Serve warm and enjoy!
Notes
- Keep the Butter Cold: This is the most important tip for flaky crescent rolls.
- Don’t Overmix: Overmixing develops the gluten, which can result in tough rolls.
- Chill Time is Crucial: The chilling periods allow the gluten to relax and the butter to firm up.
- Proofing is Key: Proofing allows the yeast to work its magic, creating light and airy rolls.
- Experiment with Fillings: Add fillings like chocolate, cheese, or ham before rolling up the triangles.


Leave a Comment