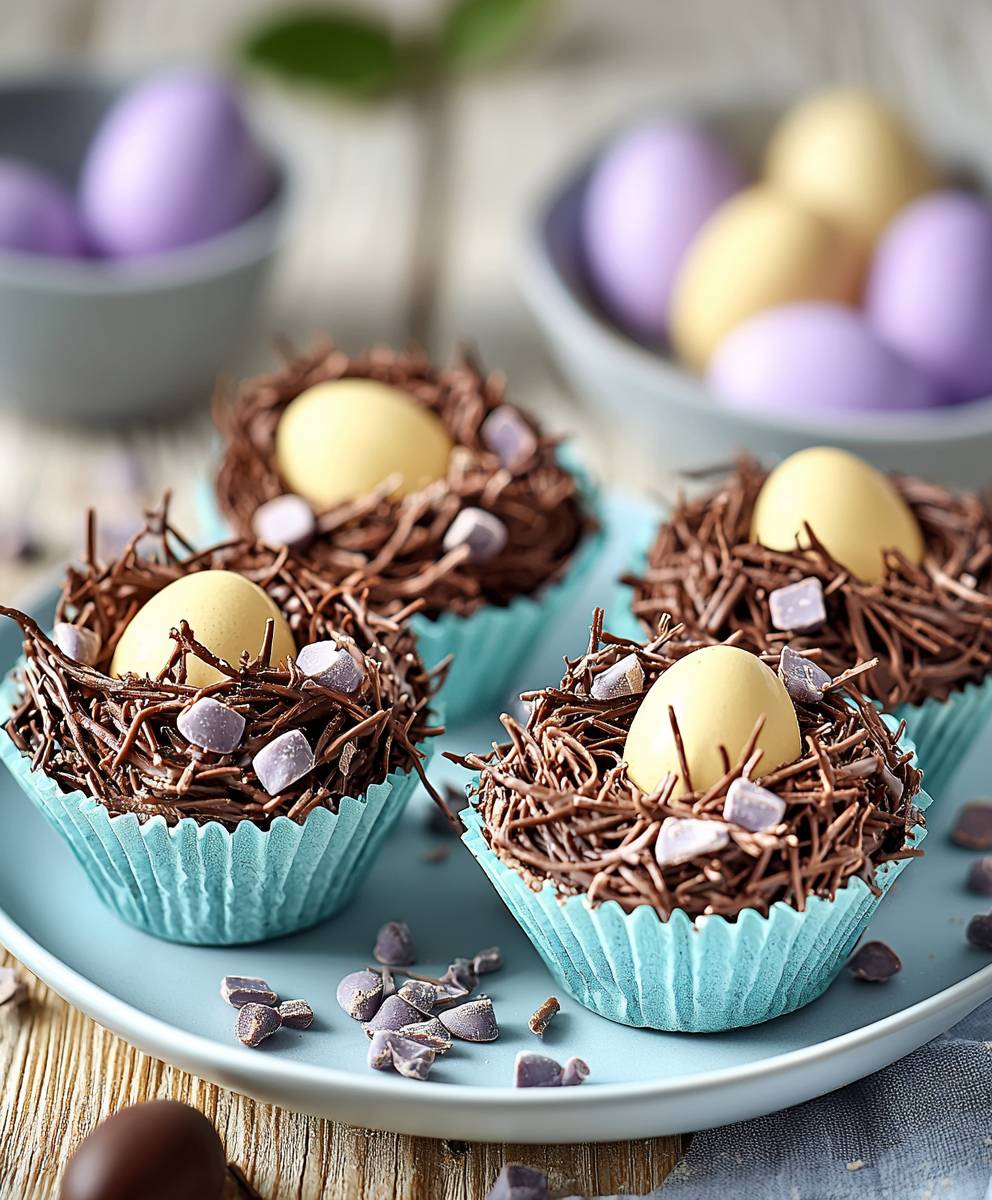
Chocolate egg nests: Just the name conjures up images of springtime celebrations and delightful treats! Are you ready to create a dessert thats not only visually stunning but also incredibly easy and fun to make? These adorable nests are the perfect centerpiece for your Easter table or a charming addition to any spring gathering.
While the exact origins of chocolate egg nests are a bit hazy, the concept of edible nests filled with sweet treats has been around for generations. They tap into our innate connection with nature and the symbolism of new beginnings that spring represents. Think of them as a modern, delicious twist on traditional Easter egg hunts!
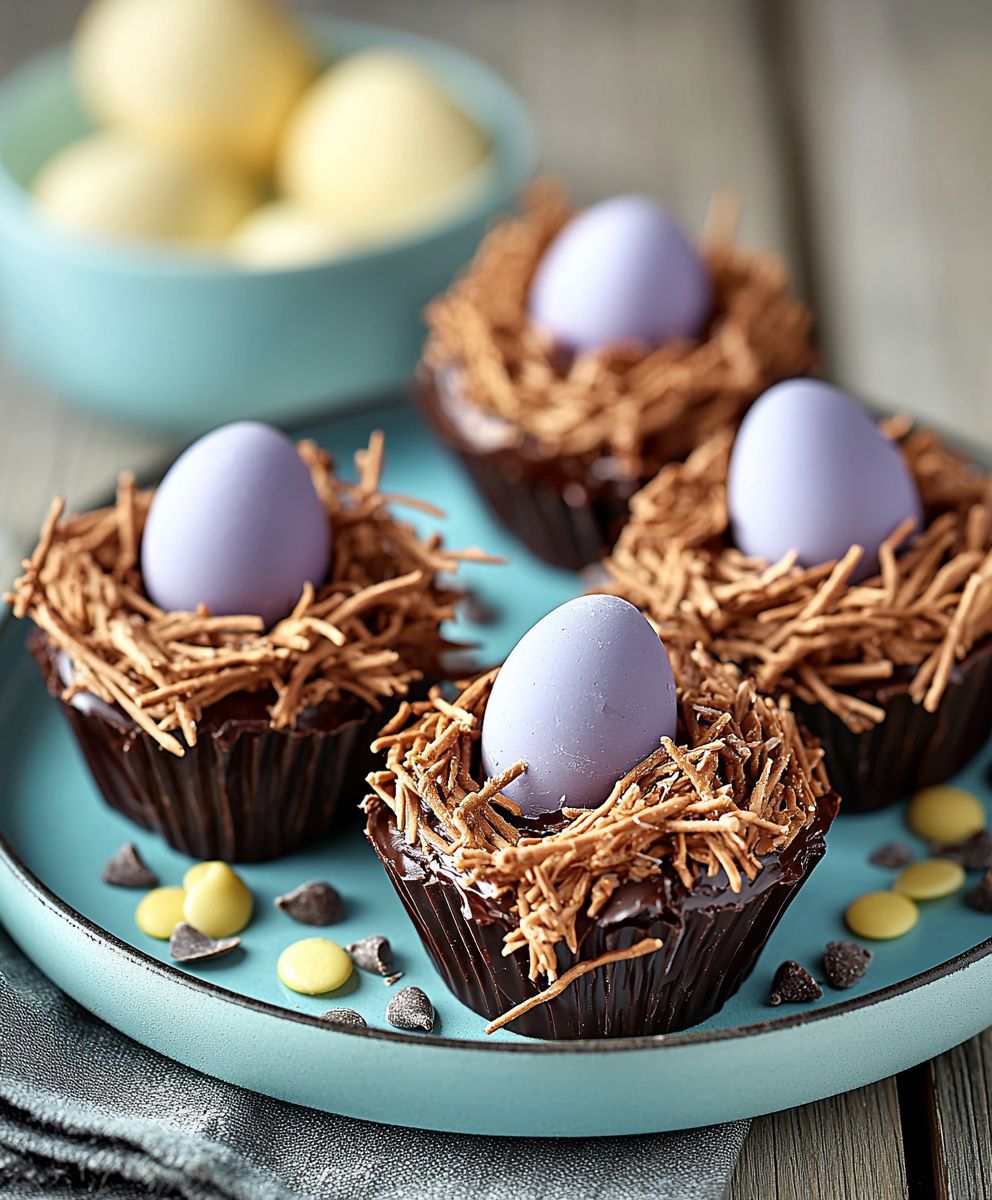
What makes chocolate egg nests so universally loved? It’s a combination of factors! The satisfying crunch of the “nest” often made with crispy noodles, pretzels, or shredded coconut paired with the smooth, rich chocolate is a textural delight. Plus, the vibrant candy eggs nestled inside add a pop of color and sweetness that kids (and adults!) can’t resist. Beyond the taste, they’re incredibly convenient to make, requiring minimal baking and readily available ingredients. Get ready to impress your friends and family with this simple yet stunning dessert!
Ingredients:
- 12 ounces semi-sweet chocolate chips
- 1/2 cup (1 stick) unsalted butter, cut into cubes
- 1/4 cup heavy cream
- 1 teaspoon vanilla extract
- 6 ounces chow mein noodles
- 1 cup mini chocolate eggs, pastel-colored
- Optional: Sprinkles for extra decoration
Melting the Chocolate
- Prepare your double boiler: Fill a saucepan with about 2 inches of water and bring it to a simmer over medium heat. Make sure the water doesn’t touch the bottom of the heatproof bowl you’ll be using.
- Combine chocolate, butter, and cream: Place the chocolate chips, butter cubes, and heavy cream in the heatproof bowl.
- Melt the mixture: Set the bowl over the simmering water, ensuring it fits snugly and doesn’t wobble. Stir the chocolate mixture frequently with a rubber spatula until everything is completely melted and smooth. This usually takes about 5-7 minutes. Be patient and avoid overheating the chocolate, as it can seize up.
- Add vanilla extract: Once the chocolate is melted and smooth, remove the bowl from the heat and stir in the vanilla extract. This will enhance the chocolate flavor.
Coating the Noodles
- Prepare the noodles: Gently crush the chow mein noodles with your hands. You don’t want to pulverize them, just break them into smaller, more manageable pieces. This will make them easier to coat and form into nests.
- Coat the noodles: Pour the crushed chow mein noodles into the bowl with the melted chocolate. Use a rubber spatula to gently fold the noodles into the chocolate, ensuring they are evenly coated. Be careful not to break the noodles too much during this process. You want them to be well-coated but still retain their shape.
- Ensure even coating: Continue folding until all the noodles are thoroughly coated in chocolate. There shouldn’t be any dry noodles remaining. If you find that the chocolate is starting to set up too quickly, you can gently warm it over the simmering water for a few seconds, stirring constantly, to loosen it up again.
Forming the Nests
- Prepare your baking sheet: Line a baking sheet with parchment paper or wax paper. This will prevent the nests from sticking and make them easy to remove later.
- Scoop the mixture: Use a spoon or a small ice cream scoop to scoop mounds of the chocolate-covered noodle mixture onto the prepared baking sheet. Each mound should be about 2-3 tablespoons in size.
- Shape the nests: Gently press down in the center of each mound with the back of a spoon to create a well or indentation, resembling a bird’s nest. Be careful not to press down too hard, or the noodles will break.
- Refine the shape: Use your fingers to gently shape the edges of the nests, making them more rounded and nest-like. You can also use a fork to create a textured effect on the sides of the nests.
Decorating and Setting
- Add the eggs: While the chocolate is still soft, gently press 3-5 mini chocolate eggs into the center of each nest. Arrange them attractively to resemble eggs in a nest.
- Add sprinkles (optional): If desired, sprinkle the nests with sprinkles for extra decoration. This is a great way to add a pop of color and visual appeal.
- Chill to set: Place the baking sheet in the refrigerator for at least 30 minutes, or until the chocolate is completely set. This will help the nests hold their shape and prevent them from melting.
- Remove and serve: Once the chocolate is set, carefully remove the nests from the baking sheet and arrange them on a serving platter.
Tips and Variations
- Type of Chocolate: You can use milk chocolate, dark chocolate, or even white chocolate chips for this recipe, depending on your preference. Just be sure to adjust the sweetness accordingly.
- Noodle Alternatives: If you can’t find chow mein noodles, you can use pretzel sticks broken into small pieces or even shredded coconut.
- Nut Butter Addition: For a richer flavor, try adding a tablespoon or two of peanut butter or almond butter to the melted chocolate.
- Salted Chocolate: A pinch of sea salt sprinkled on top of the nests before the chocolate sets can enhance the flavor and create a delicious sweet and salty combination.
- Storage: Store the chocolate egg nests in an airtight container in the refrigerator for up to a week.
- Making Ahead: These nests can be made a day or two in advance, making them perfect for Easter gatherings or parties.
- Dietary Considerations: To make these nests gluten-free, use gluten-free chow mein noodles or a gluten-free alternative like rice noodles.
Troubleshooting
- Chocolate Seizing: If your chocolate seizes up (becomes grainy and hard), try adding a tablespoon of hot water and stirring vigorously. This can sometimes help to bring it back to a smooth consistency.
- Nests Not Holding Shape: If your nests are not holding their shape, it could be because the chocolate is not thick enough. Try adding a bit more melted chocolate to the noodle mixture.
- Eggs Sliding Off: If the mini chocolate eggs are sliding off the nests, make sure the chocolate is still soft when you press them in. You can also try chilling the nests for a few minutes before adding the eggs to help the chocolate set up slightly.
Serving Suggestions
- Easter Dessert Table: These chocolate egg nests are a perfect addition to any Easter dessert table.
- Party Favors: Package individual nests in small cellophane bags and tie with ribbon for adorable party favors.
- Gifts: These nests make a thoughtful and delicious homemade gift for friends and family.
- Snack: Enjoy these nests as a sweet and crunchy snack any time of day.
- Ice Cream Topping: Crumble the nests over ice cream for a fun and festive topping.
Why This Recipe Works
This recipe is a classic for a reason! It’s incredibly easy to make, requires minimal ingredients, and is always a crowd-pleaser. The combination of crunchy noodles, rich chocolate, and sweet mini eggs is simply irresistible. Plus, the nests are so cute and festive, making them perfect for Easter or any spring celebration. The recipe is also very adaptable, allowing you to customize it to your own taste preferences and dietary needs. Whether you’re a seasoned baker or a beginner, you’ll find this recipe to be a fun and rewarding experience.
The key to success with this recipe is to use good quality chocolate and to be patient when melting it. Avoid overheating the chocolate, as this can cause it to seize up. Also, be sure to coat the noodles evenly with chocolate so that the nests hold their shape properly. With a little bit of care and attention, you’ll be able to create beautiful and delicious chocolate egg nests that everyone will love!
Conclusion:
So, there you have it! These chocolate egg nests are truly a must-try, and I’m not just saying that because I wrote the recipe. The combination of crunchy chow mein noodles, rich chocolate, and those adorable candy eggs is simply irresistible. It’s a delightful treat that’s perfect for Easter, spring celebrations, or honestly, any time you’re craving something sweet and a little bit whimsical. What makes these nests so special is their simplicity. They require minimal ingredients, no baking, and are incredibly quick to whip up. Even if you’re not a seasoned baker, you can absolutely nail this recipe. Plus, they’re a fantastic activity to do with kids! Get them involved in melting the chocolate, mixing in the noodles, and arranging the candy eggs. It’s a fun and delicious way to spend an afternoon together. But the best part? The taste! The salty-sweet combination is addictive, and the textures are wonderfully contrasting. You get the satisfying crunch from the noodles, the smooth melt of the chocolate, and the sugary pop of the candy eggs. It’s a symphony of flavors and textures that will leave you wanting more. Now, let’s talk serving suggestions and variations. While these chocolate egg nests are perfect as is, there are plenty of ways to customize them to your liking. For a richer flavor, use dark chocolate instead of milk chocolate. Or, if you’re a fan of white chocolate, that would work beautifully too! You could even swirl in some peanut butter or Nutella for an extra layer of decadence. For a festive touch, try using different colored candy eggs. Pastel shades are perfect for Easter, but you could also use bright, vibrant colors for a birthday party or other celebration. You could even add some sprinkles or edible glitter for extra sparkle. If you’re looking for a healthier option, you could use whole wheat chow mein noodles and dark chocolate with a high cocoa content. You could also swap out the candy eggs for dried cranberries, chopped nuts, or seeds. These nests are perfect for serving at Easter brunch, as a dessert after dinner, or as a sweet treat to pack in lunchboxes. They also make a wonderful homemade gift for friends and family. Simply package them in a cute box or bag and tie with a ribbon. I truly believe that this recipe will become a new favorite in your household. It’s easy, delicious, and endlessly customizable. So, what are you waiting for? Gather your ingredients, put on some music, and get ready to create some magic in the kitchen! I’m so excited for you to try this recipe and experience the joy of making and eating these delightful chocolate egg nests. Once you’ve made them, I would absolutely love to hear about your experience! Did you make any variations? Did you enjoy them as much as I do? Please share your photos and comments with me I can’t wait to see your creations! Happy baking (or rather, no-baking)! Print
Chocolate Egg Nests: Easy Recipe & Decorating Ideas
- Total Time: 55 minutes
- Yield: 12 nests 1x
Description
Crunchy, sweet chocolate nests filled with mini chocolate eggs. An easy and fun Easter treat for all ages!
Ingredients
- 12 ounces semi-sweet chocolate chips
- 1/2 cup (1 stick) unsalted butter, cut into cubes
- 1/4 cup heavy cream
- 1 teaspoon vanilla extract
- 6 ounces chow mein noodles
- 1 cup mini chocolate eggs, pastel-colored
- Optional: Sprinkles for extra decoration
Instructions
- Melt Chocolate: In a double boiler (or heatproof bowl over simmering water), combine chocolate chips, butter, and heavy cream. Stir frequently until melted and smooth. Remove from heat and stir in vanilla extract.
- Coat Noodles: Gently crush chow mein noodles. Pour into the melted chocolate and gently fold until evenly coated.
- Form Nests: Line a baking sheet with parchment paper. Scoop mounds of the chocolate-covered noodles onto the sheet. Press down in the center of each mound to create a well. Shape the edges to resemble a nest.
- Decorate and Set: While the chocolate is still soft, press 3-5 mini chocolate eggs into the center of each nest. Add sprinkles, if desired.
- Chill: Refrigerate for at least 30 minutes, or until the chocolate is completely set.
- Serve: Carefully remove the nests from the baking sheet and arrange on a serving platter.
Notes
- Use your favorite type of chocolate (milk, dark, or white).
- Substitute pretzel sticks or shredded coconut for chow mein noodles.
- Add a tablespoon or two of peanut butter or almond butter to the melted chocolate for a richer flavor.
- Sprinkle with sea salt for a sweet and salty combination.
- Store in an airtight container in the refrigerator for up to a week.
- Can be made a day or two in advance.
- For gluten-free, use gluten-free chow mein noodles or rice noodles.
- If chocolate seizes, try adding a tablespoon of hot water and stirring vigorously.
- If nests aren’t holding shape, add more melted chocolate.
- If eggs are sliding off, chill nests slightly before adding eggs.
- Prep Time: 15 minutes
- Cook Time: 10 minutes



Leave a Comment