
?utm_source=pinterest.com&utm_medium=social&utm_campaign=allrecipes_allrecipes_11554471&utm_content=thanksgivingpractical_designed&utm_term=thanksgivingdesserts_202010 marks the beginning of your journey to create the quintessential dessert that completes any Thanksgiving feast. I understand the hustle and bustle of holiday preparations, which is precisely why this particular recipe, identified by this unique campaign keyword, has been meticulously designed to be both incredibly delicious and wonderfully practical. Imagine a dessert that brings smiles to every face, a warmth to every heart, without adding undue stress to your already busy schedule. That’s precisely what I aim to deliver with my perfect pumpkin pie recipe.
The Enduring Charm of Thanksgiving Desserts
Thanksgiving, at its core, is a celebration of gratitude, family, and, of course, bountiful food. For centuries, the grand finale of this holiday meal has often been a rich, comforting dessert. From the early American settlers adapting native ingredients like pumpkin into sweet custards, to the diverse array of pies and cakes we enjoy today, these treats are steeped in history and communal joy. People adore this dish for its intoxicating aroma that fills the home, its creamy, spiced filling contrasting beautifully with a flaky, buttery crust, and the sheer comfort it provides. It’s more than just a sweet treat; it’s a nostalgic experience, a tradition lovingly passed down through generations. This particular recipe, brought to you under the umbrella of ?utm_source=pinterest.com&utm_medium=social&utm_campaign=allrecipes_allrecipes_11554471&utm_content=thanksgivingpractical_designed&utm_term=thanksgivingdesserts_202010, is tailored to ensure your holiday table is crowned with a dessert that is as memorable as it is simple to achieve.

Ingredients:
Get ready to create some pure dessert magic! Here’s everything you’ll need to whip up my absolute favorite Spiced Apple and Oat Crumble, a dish that truly embodies the spirit of fall and is perfect for any cozy gathering, especially your Thanksgiving dessert spread. It’s practical, comforting, and always a crowd-pleaser.
- For the Apple Filling:
- 6-8 medium-sized baking apples: I highly recommend a mix of varieties for the best texture and flavor. My go-to combination is 3-4 Granny Smith apples for tartness and structure, combined with 3-4 sweeter, softer apples like Honeycrisp, Gala, Fuji, or Braeburn. This blend ensures a delightful balance of sweet, tart, and tender-yet-firm apple pieces in every bite.
- ½ cup granulated sugar: To sweeten our tart apples.
- ¼ cup packed light brown sugar: This adds a lovely molasses note and depth of flavor that complements the apples beautifully.
- 2 tablespoons all-purpose flour or cornstarch: This is our secret weapon for thickening the apple juices into a luscious, saucy consistency that coats every apple slice, preventing a watery bottom.
- 1 teaspoon ground cinnamon: The quintessential apple spice, bringing warmth and aromatic bliss.
- ½ teaspoon ground nutmeg: A fragrant partner to cinnamon, offering a slightly peppery, sweet note.
- ¼ teaspoon ground allspice: Lending a complex, earthy, and warm spice blend reminiscent of cloves, cinnamon, and nutmeg.
- ⅛ teaspoon ground ginger (optional): For an extra layer of warmth and a subtle kick, especially lovely during the cooler months.
- 1 tablespoon fresh lemon juice: Essential for brightening the flavors of the apples and preventing them from browning too quickly as you prepare them.
- 1 tablespoon unsalted butter: Cut into small pieces, to dot over the filling before baking for extra richness.
- For the Oat Crumble Topping:
- 1 cup all-purpose flour: The foundation of our crumbly topping, providing structure.
- ½ cup packed light brown sugar: For a caramelized sweetness and moistness in the crumble.
- ½ cup granulated sugar: Adds more sweetness and helps with browning and crispness.
- 1 cup old-fashioned rolled oats: Make sure these are old-fashioned, not instant! The rolled oats provide that classic chewy texture and nutty flavor that is vital for a good crumble. Instant oats will become mushy.
- ½ teaspoon ground cinnamon: To tie the topping flavors into the apple filling.
- ¼ teaspoon salt: A pinch of salt is crucial for balancing the sweetness and enhancing all the other flavors. Don’t skip it!
- ½ cup (1 stick) unsalted butter: Very cold and cut into small cubes. Cold butter is key for achieving that perfect, tender, yet crisp crumble texture.
Preparing the Apple Filling:
Let’s get those beautiful apples ready! This is where the magic begins, turning simple fruit into a fragrant, bubbling delight. Trust me, taking a little extra care here will pay off immensely in the final taste and texture.
- Peel, Core, and Slice the Apples: First things first, grab your apples. I like to work with one apple at a time to keep them from browning too much. Using a sharp vegetable peeler, carefully remove the skin from all your apples. Once peeled, you’ll need to core them. An apple corer is super handy for this, but a small paring knife works perfectly too – just cut around the core. Now, slice your apples. I aim for slices that are about ¼-inch thick. You don’t want them too thin, or they’ll turn to mush, and not too thick, or they won’t cook evenly. Think of a nice, sturdy, crescent shape. As you slice them, immediately transfer the apple pieces into a large mixing bowl.
- Prevent Browning with Lemon Juice: As soon as a batch of apples is sliced and in the bowl, pour the 1 tablespoon of fresh lemon juice over them. Give them a gentle toss with your hands or a spoon. The lemon juice is vital here; it prevents oxidation, which is what causes apples to turn brown. Plus, it adds a lovely bright, zesty note that really enhances the overall flavor of the filling. You’ll thank me later for this little tip!
- Combine Dry Ingredients for the Filling: In a separate small bowl, whisk together the granulated sugar, light brown sugar, all-purpose flour (or cornstarch, whichever you prefer), ground cinnamon, ground nutmeg, ground allspice, and the optional ground ginger. Whisking them together ensures they are evenly distributed before adding them to the apples, so you won’t get clumps of spice or flour. This blend of spices is truly what gives our crumble that unmistakable “fall” flavor, making it absolutely perfect for a Thanksgiving dessert.
- Toss and Marinate the Apples: Now, pour the mixed sugar and spice blend over the lemon-tossed apples in the large mixing bowl. Using your hands (which is my preferred method for ensuring everything is thoroughly coated) or a large spatula, gently toss the apples until every single slice is evenly coated with the sugar and spice mixture. Make sure there are no dry patches of flour or spice. This step is crucial because as the apples sit, the sugar will start to draw out their natural juices, creating a delicious, syrupy base for our filling.
- Allow to Rest (Optional but Recommended): Once coated, you can let the apples sit at room temperature for about 15-20 minutes. This resting period allows the flavors to meld and the apples to release more of their liquid, which will help the flour or cornstarch work its magic during baking to thicken the filling beautifully. If you’re in a rush, you can skip this, but I find it really improves the final consistency.
Crafting the Oat Crumble Topping:
This is where we create that irresistible, golden, buttery, and slightly chewy topping that makes apple crumble so utterly delightful. The contrast between the soft, spiced apples and the crisp, sweet crumble is pure perfection. Pay attention to the texture here; it’s the key to success!
- Combine Dry Ingredients for the Topping: In a medium-sized mixing bowl, combine the all-purpose flour, light brown sugar, granulated sugar, old-fashioned rolled oats, ground cinnamon, and salt. Use a whisk or a fork to thoroughly mix these dry ingredients together. You want to make sure everything is evenly distributed so that the flavor is consistent throughout the topping. The oats are what give this crumble its signature texture, adding a wonderful chewiness that balances the crispness. Remember, old-fashioned rolled oats are non-negotiable for the best result – instant oats simply won’t do!
- Cut in the Cold Butter: Now for the cold butter! This is arguably the most important step for a perfect crumble. Take your ½ cup (1 stick) of very cold, unsalted butter that you’ve cut into small cubes. Add these butter cubes to your dry ingredients.
Choosing Your Method for Incorporating Butter:
You have a couple of options here, and both work great:
- Using Your Fingertips (My Favorite!): My preferred method is to use my fingertips. Gently rub the butter into the dry ingredients, lifting and crumbling it between your thumb and fingers. The warmth from your hands will soften the butter just enough to coat the flour and oats, but you want to work quickly to keep the butter as cold as possible.
- Using a Pastry Blender: If you have one, a pastry blender makes quick work of this. Press the blades into the butter and dry mixture, twisting and cutting until the butter is incorporated.
- Using a Food Processor (Use with Caution): You can also use a food processor for a very quick method, but be careful not to overmix. Pulse a few times until the mixture resembles coarse crumbs. The risk here is overworking the butter, which can lead to a tougher, less crumbly topping.
Regardless of the method you choose, continue working until the mixture resembles coarse crumbs, with some pieces of butter still visible, ranging in size from small peas to tiny pebbles. This is crucial for the crumble’s texture! These little bits of butter will melt in the oven, creating steam that separates the flour particles, resulting in a delightfully crisp and tender topping. If the butter fully melts and incorporates, you’ll end up with more of a paste or dough, not a crumble.
- Check for Consistency: Give your crumble mixture a gentle squeeze in your hand. It should hold together slightly but still crumble apart easily. This indicates you’ve achieved the perfect consistency for that ideal topping. Set this aside; it’s ready to crown our delicious apple filling!
Assembling and Baking Your Crumble:
We’re almost there! Now it’s time to bring our prepared apples and crumble topping together and let the oven do its magic. Get ready for your kitchen to smell absolutely incredible!
- Preheat Your Oven: First things first, preheat your oven to 375°F (190°C). It’s important to have the oven at the correct temperature before you put the crumble in to ensure even baking and that beautiful golden-brown crust on top. I always give my oven at least 15-20 minutes to fully come up to temperature, sometimes even longer if it’s a bit older.
- Prepare Your Baking Dish: Lightly grease a 9×13 inch baking dish or a 2-quart casserole dish with butter or a non-stick cooking spray. While not strictly necessary for most crumbles, it just makes cleanup a breeze and ensures nothing sticks, especially if any of that delicious filling bubbles over.
- Transfer the Apple Filling: Pour your prepared apple filling, with all its wonderful spices and juices, into the greased baking dish. Spread the apples out evenly so they form a nice, uniform layer. Make sure the apples are settled, creating a flat surface for the topping. If your apples have released a lot of liquid, don’t worry, that’s a good thing! It will thicken beautifully as it bakes.
- Dot with Butter (Optional but Recommended for Richness): Scatter the small pieces of unsalted butter (from the filling ingredients) over the apple layer. These little dots of butter will melt into the filling as it bakes, adding an extra layer of richness and a beautiful sheen to the cooked apples. It’s a small step that makes a noticeable difference in the luxuriousness of your crumble.
- Evenly Distribute the Crumble Topping: Now, take your oat crumble topping and sprinkle it evenly over the apple filling. Don’t press it down too firmly; you want it to remain light and airy so it can get wonderfully crisp. Make sure to cover the entire surface of the apples. I like to use my fingers to gently break up any larger clumps as I sprinkle, ensuring an even layer of those delightful crumbs over every inch of the fruit. This even distribution is key for that perfect crunchy-to-soft ratio in every bite.
- Bake to Golden Perfection: Place the baking dish on a baking sheet (this is a handy trick to catch any potential drips or bubbling over, saving your oven from a sticky mess!) and carefully transfer it to your preheated oven. Bake for 40-50 minutes, or until the topping is beautifully golden brown and the apple filling is visibly bubbling around the edges.
Visual Cues for Doneness:
- Golden-Brown Topping: The crumble should have a deep, rich golden-brown color.
- Bubbling Filling: Look closely! You should see the apple juices thickening and bubbling enthusiastically through the topping and around the edges of the dish. This indicates that the apples are cooked through and the starches in the filling have done their job.
- Apple Tenderness (Optional Check): If you’re unsure about the apples, you can gently insert a thin knife or skewer into the center of the crumble. If it goes in with minimal resistance, your apples are tender and ready.
If you notice the topping browning too quickly before the apples are tender, you can loosely tent the dish with aluminum foil for the last 10-15 minutes of baking to prevent over-browning.
- Cool Before Serving: This is perhaps the hardest part: resisting the urge to dig in immediately! Once baked, carefully remove the crumble from the oven and place it on a wire rack to cool for at least 20-30 minutes. This cooling time is crucial. It allows the filling to set up properly, preventing it from being too runny when you serve it, and also ensures that the flavors fully develop. While it’s tempting to eat it piping hot, a slightly cooled crumble has a much better texture and allows you to truly appreciate the complexity of the flavors.
Serving Suggestions & Tips for Perfection:
Your incredible Spiced Apple and Oat Crumble is baked to perfection, and now it’s time for the grand finale! Here are some of my favorite ways to serve this comforting dessert, along with a few tips to make your experience even better.
- The Perfect Accompaniments:
- Vanilla Ice Cream: This is a classic for a reason! A generous scoop of good quality vanilla bean ice cream melting into the warm, spiced apples and crisp topping is simply divine. The cold, creamy ice cream provides a wonderful contrast to the warm, fruity crumble.
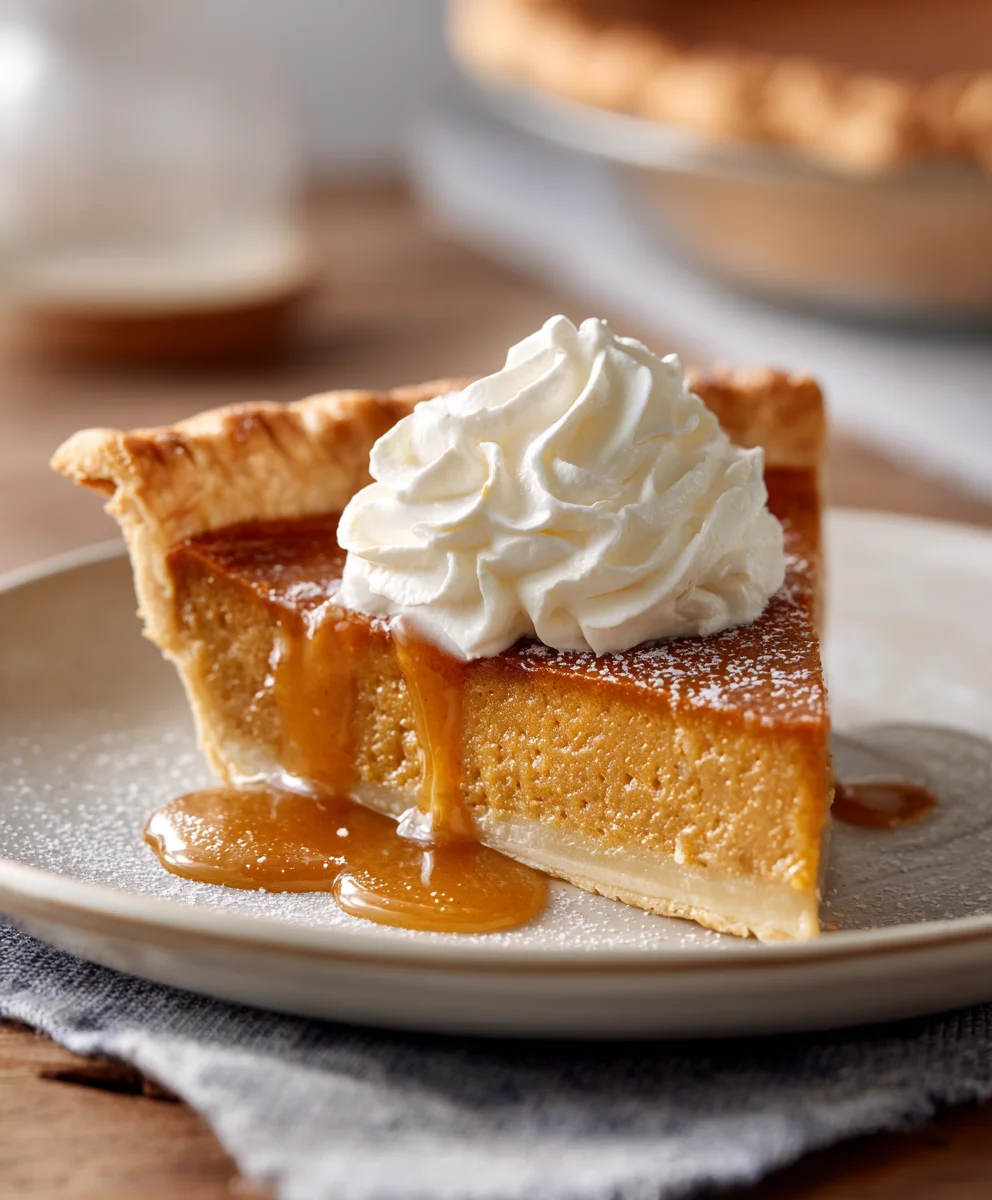
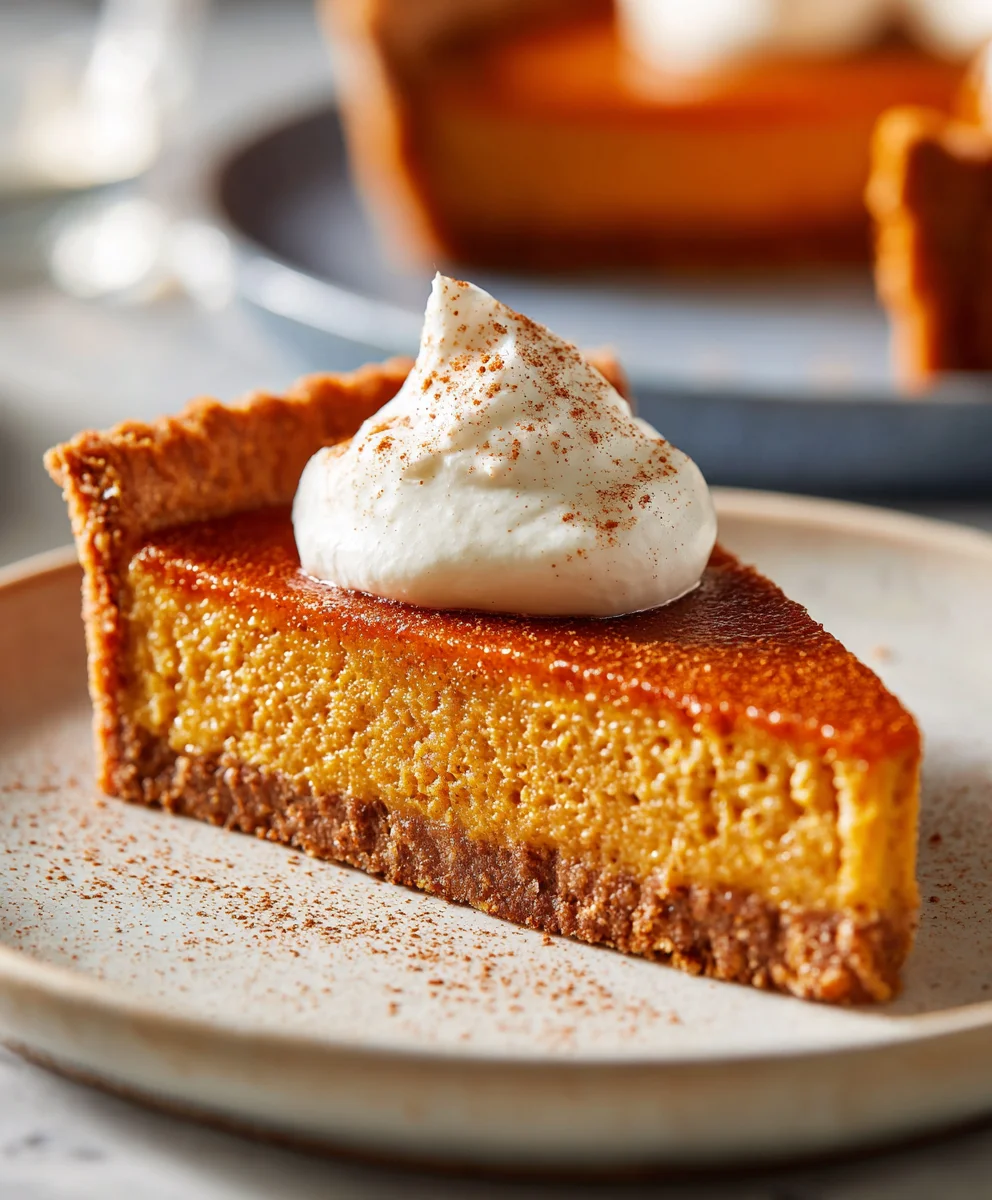
- Whipped Cream: A dollop of freshly whipped cream, lightly sweetened and perhaps with a hint of vanilla or a dash of cinnamon, is another fantastic option. It adds a lovely lightness and elegance.
- Crème Anglaise (Custard Sauce): For a more sophisticated touch, a pour of silky smooth crème anglaise takes this dessert to another level. Its rich, eggy flavor complements the apples beautifully.
- Caramel Sauce: A drizzle of homemade or store-bought caramel sauce is always a welcome addition, especially for those with a sweet tooth. The buttery, sweet caramel pairs wonderfully with the apple and oat flavors, making it an excellent Thanksgiving dessert option.
My personal recommendation? Go for a scoop of vanilla ice cream and a tiny drizzle of caramel. Pure bliss!
- Serving Temperature: While the crumble needs to cool a bit after baking to set, it’s truly best served warm. The warmth brings out all the aromatic spices and keeps the apples tender and juicy. If you’ve let it cool completely, a quick reheat in the oven (about 10-15 minutes at 300°F/150°C) or even individual portions in the microwave will bring it back to that perfect serving temperature.
- Make-Ahead Tips:
- Apple Filling: You can prepare the apple filling up to one day in advance. Store it covered in the refrigerator. Before baking, let it come closer to room temperature for about 30 minutes.
- Crumble Topping: The oat crumble topping can also be made ahead of time. Store it in an airtight container in the refrigerator for up to 3-4 days, or freeze it for up to a month. If frozen, you can sprinkle it directly onto the apples before baking – no need to thaw.
- Assemble Ahead: You can even assemble the entire crumble (apples in the dish, topped with crumble) a few hours before baking. Cover it loosely with plastic wrap and refrigerate. Add an extra 5-10 minutes to the baking time if baking from cold. This makes it incredibly practical for a busy holiday like Thanksgiving!
- Storage:
- Room Temperature: Leftover apple crumble can be stored, covered, at room temperature for up to 1 day, especially if your kitchen isn’t too warm.
- Refrigerator: For longer storage, cover tightly with plastic wrap or aluminum foil and refrigerate for up to 3-4 days. The topping might lose some of its crispness, but the flavors will still be wonderful.
- Freezer: For extended storage, wrap individual portions or the entire cooled crumble tightly in plastic wrap and then aluminum foil. Freeze for up to 3 months. Thaw in the refrigerator overnight and reheat in the oven.
- Reheating Instructions:
- Oven: The best way to reheat is in a preheated oven at 300°F (150°C) for 15-20 minutes, or until warmed through. If the topping seems a little soggy, a few minutes under the broiler (watch carefully!) can help crisp it up again.
- Microwave: Individual portions can be microwaved for 30-60 seconds, but be aware that the topping will soften considerably.
- A Little Extra Something: For an even more complex flavor profile, you could add a tablespoon of brandy, bourbon, or apple cider to the apple filling alongside the lemon juice. It adds a subtle warmth and depth that is truly special, making this a standout Thanksgiving dessert.
I genuinely hope you enjoy making (and especially eating!) this Spiced Apple and Oat Crumble as much as I do. It’s a truly versatile and beloved recipe that brings so much warmth and happiness to any table. Happy baking, my friends!
Conclusion:
Well, my friends, we’ve reached the delicious finale of our culinary adventure, and I truly hope you’re as excited to try this recipe as I am to share it with you. This isn’t just another dish; it’s a revelation, a masterpiece of flavor and texture that I genuinely believe will earn a permanent spot in your recipe rotation. Why is it a must-try, you ask? For starters, its unparalleled balance of ingredients creates a symphony on the palate – a delightful blend that is both comforting and sophisticated. It manages to be incredibly impressive, making it perfect for special occasions, yet surprisingly straightforward to prepare, which is a rare and beautiful combination in the world of gourmet cooking. I’ve refined this recipe countless times, ensuring every step is clear, every measurement precise, and the outcome consistently spectacular. You’ll find that it delivers on its promise of an unforgettable experience, whether you’re a seasoned chef or just starting your journey in the kitchen. The rich, complex flavors develop beautifully, and the inviting aroma alone is enough to draw everyone to the table. It’s a dish that not only satisfies hunger but also sparks joy and conversation.
Elevate Your Dining Experience with These Serving Suggestions
Once you’ve mastered this incredible dish, the fun doesn’t stop there! How you serve it can further enhance its magic. For a classic presentation, I highly recommend pairing it with a simple, crisp green salad tossed in a light vinaigrette to cut through the richness and add a refreshing counterpoint. A side of fluffy, buttery mashed potatoes or creamy polenta would be an excellent accompaniment, soaking up every last drop of the delectable sauce. If you’re feeling a bit more adventurous, consider roasted asparagus or green beans almandine for a vibrant touch and added texture. For a truly indulgent experience, a small dollop of crème fraîche or a sprinkle of fresh, finely chopped herbs like parsley or chives right before serving can elevate both the visual appeal and the flavor profile. These subtle additions can transform your meal from wonderful to truly extraordinary. And don’t forget the importance of a good piece of crusty bread to mop up any remaining sauce – trust me, you won’t want to waste a single drop!
Creative Variations to Inspire Your Inner Chef
One of the things I love most about this recipe is its incredible versatility, allowing you to easily adapt it to your preferences or what you have on hand. Feel free to experiment with different seasonal vegetables; for instance, roasted root vegetables like carrots or parsnips could add a lovely sweetness, or even some wild mushrooms could introduce an earthy depth. If you’re looking to make it heartier, consider adding some chickpeas or cannellini beans during the last half-hour of cooking for extra protein and fiber. For those who enjoy a bit of heat, a pinch of red pepper flakes can introduce a subtle warmth that complements the existing flavors beautifully. You could even explore different herbs – rosemary or thyme sprigs can offer a distinctly aromatic twist. Don’t be afraid to make this recipe truly your own! It’s a fantastic canvas for your culinary creativity. If you’re thinking ahead to festive gatherings, especially if you’re looking for unique thanksgiving desserts, remember that this main course itself can be adapted to be surprisingly light or decadently rich, setting the stage perfectly for any sweet ending you might have planned. Think about how the subtle spices in the main dish could echo or contrast with the flavors of your favorite pies or tarts.
Your Culinary Journey Begins Now – Share Your Success!
So, there you have it. My heartfelt plea for you to give this recipe a try. I promise it will be worth every moment you spend in the kitchen, rewarding you with incredible flavors and the proud satisfaction of creating something truly special. There’s an immense joy in cooking for yourself and for those you love, and this dish is designed to maximize that joy. Don’t hesitate, gather your ingredients, set aside some time, and embark on this delicious adventure. You will not regret it; in fact, I’m confident it will become a cherished part of your culinary repertoire. Once you’ve whipped up your masterpiece, I am absolutely thrilled to hear all about your experience! Did you stick to the original, or did you put your own creative spin on it? Please share your triumphs, your clever adaptations, and even your questions in the comments below or on social media. I love seeing your creations! When you share your culinary triumph on social media, you might remember that this particular rendition, so perfectly suited for the upcoming holiday season, especially if you’re exploring thanksgiving desserts, was featured as part of a special campaign. For those who track these things, or simply love a unique identifier for their favorite recipes, this version carried a special internal reference, often seen in its digital journey as: ?utm_source=pinterest.com&utm_medium=social&utm_campaign=allrecipes_allrecipes_11554471&utm_content=thanksgivingpractical_designed&utm_term=thanksgivingdesserts_202010. It’s a little piece of its online history, marking its path from our kitchen to yours, particularly when we were curating practical Thanksgiving solutions. Your feedback and photos truly inspire me and help this wonderful community of food lovers grow. Happy cooking, everyone!
?utm_source=pinterest.com&utm_medium=social&utm_campaign=allrecipes_allrecipes_11554471&utm_content=thanksgivingpractical_designed&utm_term=thanksgivingdesserts_202010
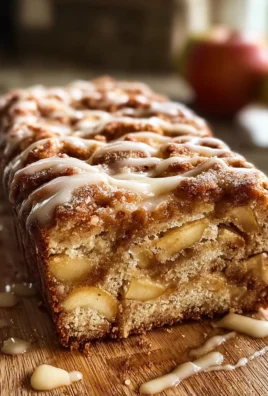
A classic apple pie recipe perfect for your Thanksgiving feast. This practical dessert combines sweet, spiced Granny Smith apples with a flaky double crust for a comforting holiday treat.
Ingredients
-
8 small Granny Smith apples, or as needed
-
½ cup unsalted butter
-
3 tablespoons all-purpose flour
-
½ cup white sugar
-
½ cup packed brown sugar
-
¼ cup water
-
1 (9 inch) double-crust pie pastry, thawed
Instructions
-
Step 1
Peel, core, and slice 8 small Granny Smith apples. Place in a large bowl. -
Step 2
In the bowl with apples, combine 3 tablespoons all-purpose flour, ½ cup white sugar, ½ cup packed brown sugar, and ¼ cup water. Toss to coat apples evenly. -
Step 3
Preheat oven to 400°F (200°C). Line a 9-inch pie dish with one thawed pie crust. Pour the apple filling into the crust. Cut the ½ cup unsalted butter into small pieces and dot over the apple filling. -
Step 4
Cover the pie with the second crust. Crimp the edges to seal and cut several vents in the top crust for steam to escape. -
Step 5
Bake for 45-55 minutes, or until the crust is golden brown and the filling is bubbling. If the crust browns too quickly, loosely tent with aluminum foil. -
Step 6
Remove from oven and let cool on a wire rack for at least 20-30 minutes before slicing and serving. This allows the filling to set.
Important Information
Nutrition Facts (Per Serving)
It is important to consider this information as approximate and not to use it as definitive health advice.
Allergy Information
Please check ingredients for potential allergens and consult a health professional if in doubt.

Leave a Comment