
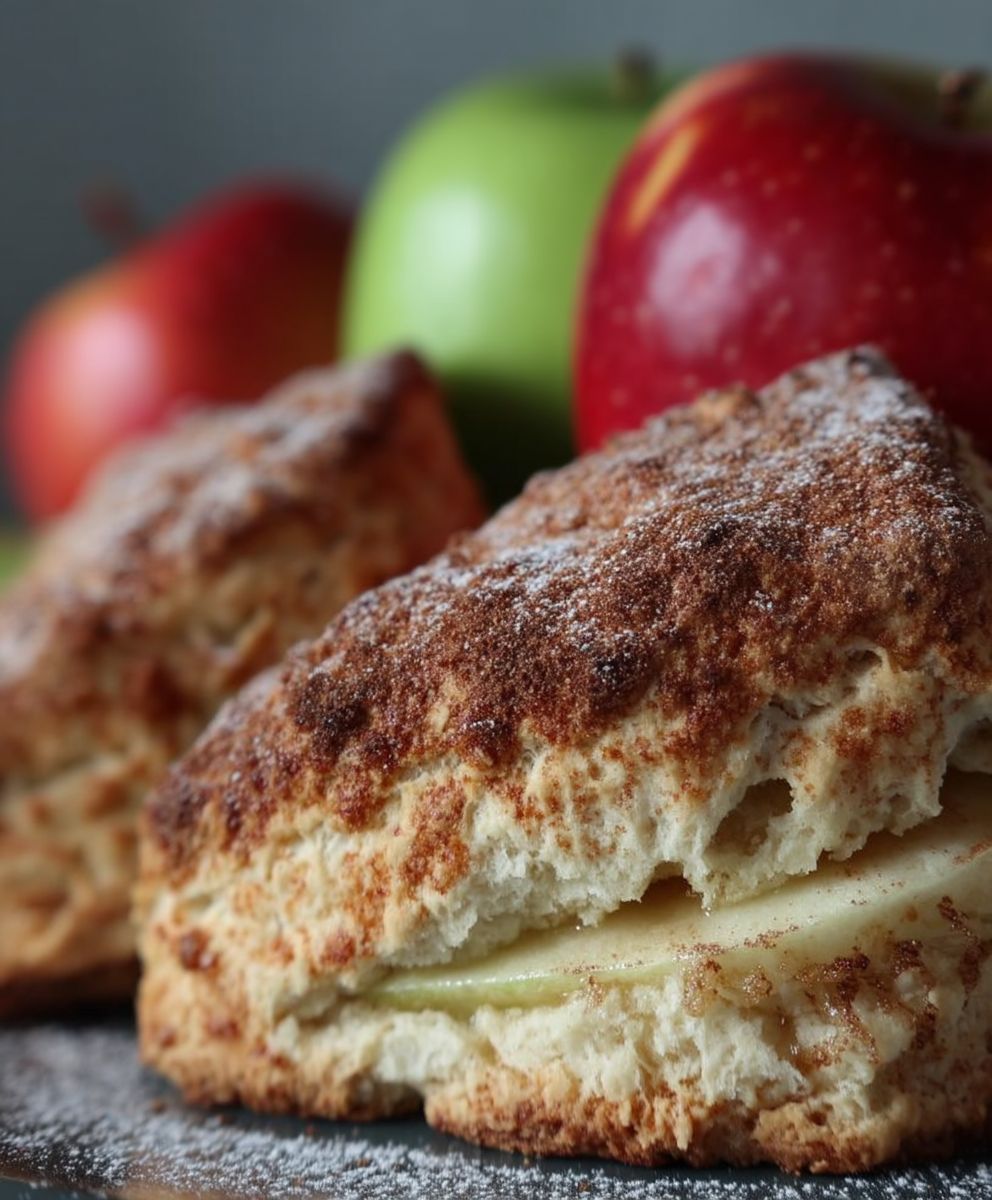
Apple Scones, warm from the oven, are a delightful treat that perfectly bridges the gap between breakfast and dessert. Imagine biting into a tender, crumbly scone, infused with the sweet and slightly tart flavor of fresh apples, all while a delicate cinnamon aroma fills the air. Is your mouth watering yet? Mine certainly is!
Scones, with their humble beginnings in Scotland, have evolved from simple oatcakes baked on a griddle to the buttery, fruit-studded delights we know and love today. While traditionally served with clotted cream and jam, the addition of apples elevates the scone to a whole new level of autumnal deliciousness. The beauty of apple scones lies in their versatility and comforting nature. They are perfect for a cozy weekend brunch, an afternoon tea, or even a quick and satisfying snack.
People adore apple scones for their delightful combination of textures the slightly crisp exterior gives way to a soft, almost melt-in-your-mouth interior. The apples provide a natural sweetness and moisture, preventing the scone from being dry, while the warm spices add a touch of comforting warmth. Plus, they are surprisingly easy to make! So, whether you’re a seasoned baker or just starting out, this recipe is sure to become a new favorite. Get ready to experience the joy of homemade apple scones!

Ingredients:
- 2 cups all-purpose flour, plus more for dusting
- 1/2 cup granulated sugar
- 2 1/2 teaspoons baking powder
- 1/2 teaspoon baking soda
- 1/4 teaspoon salt
- 1/2 cup (1 stick) cold unsalted butter, cut into small cubes
- 3/4 cup cold buttermilk
- 1 large egg, lightly beaten
- 1 teaspoon vanilla extract
- 1 large apple (such as Honeycrisp or Granny Smith), peeled, cored, and diced
- 2 tablespoons coarse sugar, for sprinkling
- 2 tablespoons milk or cream, for brushing
Preparing the Dough:
- Combine the dry ingredients: In a large bowl, whisk together the flour, granulated sugar, baking powder, baking soda, and salt. Make sure everything is evenly distributed for a consistent rise.
- Cut in the butter: Add the cold, cubed butter to the flour mixture. Using a pastry blender or your fingertips, cut the butter into the flour until the mixture resembles coarse crumbs. The smaller the butter pieces, the flakier your scones will be! Try to work quickly to keep the butter cold.
- Whisk the wet ingredients: In a separate small bowl, whisk together the buttermilk, egg, and vanilla extract. Ensure the egg is fully incorporated for a smooth batter.
- Combine wet and dry ingredients: Pour the wet ingredients into the bowl with the dry ingredients. Using a wooden spoon or spatula, gently stir until just combined. Be careful not to overmix, as this will result in tough scones. A few streaks of flour are okay at this stage.
- Add the apples: Gently fold in the diced apples until they are evenly distributed throughout the dough. Again, be careful not to overmix.
- Turn out the dough: Lightly flour a clean work surface. Turn the dough out onto the floured surface and gently pat it into a circle about 1 inch thick. If the dough is too sticky, lightly dust your hands and the surface with more flour.
Cutting and Shaping the Scones:
- Cut the scones: Using a sharp knife or a biscuit cutter (about 2-3 inches in diameter), cut out the scones. If using a knife, cut the circle into 6-8 wedges. If using a biscuit cutter, cut out as many circles as possible, then gently re-form the scraps and cut out more scones. Try not to twist the cutter, as this can seal the edges and prevent them from rising properly.
- Prepare the baking sheet: Line a baking sheet with parchment paper. This will prevent the scones from sticking and make cleanup easier.
- Arrange the scones: Place the scones onto the prepared baking sheet, leaving about 1 inch of space between each scone. This allows for even baking and prevents them from sticking together.
- Chill the scones (optional but recommended): For best results, place the baking sheet with the scones in the refrigerator for at least 30 minutes. This helps the butter to firm up, which will result in flakier scones. You can even chill them overnight for a morning treat!
Baking the Scones:
- Preheat the oven: Preheat your oven to 400°F (200°C). Make sure your oven is fully preheated before baking the scones for even cooking.
- Brush with milk or cream: Brush the tops of the scones with milk or cream. This will help them to brown beautifully in the oven.
- Sprinkle with coarse sugar: Sprinkle the tops of the scones with coarse sugar. This adds a lovely sparkle and a touch of sweetness.
- Bake the scones: Bake the scones for 15-20 minutes, or until they are golden brown and a toothpick inserted into the center comes out clean. Keep a close eye on them, as baking times may vary depending on your oven.
- Cool the scones: Remove the scones from the oven and let them cool on the baking sheet for a few minutes before transferring them to a wire rack to cool completely.
Tips for Perfect Apple Scones:
- Use cold ingredients: Cold butter and buttermilk are essential for creating flaky scones. The cold butter creates pockets of steam as it melts in the oven, resulting in a light and airy texture.
- Don’t overmix the dough: Overmixing develops the gluten in the flour, which can lead to tough scones. Mix the dough just until the ingredients are combined.
- Handle the dough gently: Avoid overworking the dough when shaping the scones. The less you handle the dough, the more tender the scones will be.
- Chill the dough: Chilling the dough before baking helps the butter to firm up, which will result in flakier scones.
- Use a sharp cutter: A sharp biscuit cutter or knife will help to create clean edges, which will allow the scones to rise properly.
- Don’t overcrowd the baking sheet: Leave enough space between the scones on the baking sheet to allow for even baking.
- Bake until golden brown: Bake the scones until they are golden brown and a toothpick inserted into the center comes out clean.
- Serve warm: Apple scones are best served warm, with a dollop of clotted cream or a pat of butter.
Variations:
- Add spices: For a warmer flavor, add 1/2 teaspoon of ground cinnamon, nutmeg, or allspice to the dry ingredients.
- Use different apples: Experiment with different types of apples, such as Gala, Fuji, or Braeburn.
- Add dried fruit: Stir in 1/2 cup of dried cranberries, raisins, or chopped dates to the dough.
- Add nuts: Add 1/2 cup of chopped walnuts, pecans, or almonds to the dough.
- Make a glaze: Drizzle the cooled scones with a simple glaze made from powdered sugar and milk or lemon juice.
- Cheddar Apple Scones: Add 1/2 cup of shredded cheddar cheese to the dry ingredients for a savory twist. Reduce the sugar to 1/4 cup.
- Caramel Apple Scones: Drizzle the baked scones with caramel sauce. You can even add chopped caramel candies to the dough before baking.
Serving Suggestions:
- Serve warm with clotted cream and jam.
- Enjoy with a cup of tea or coffee.
- Pack them in a lunchbox for a delicious treat.
- Bring them to a brunch or potluck.
- Serve them as a dessert after a meal.
Storage Instructions:
- Store leftover scones in an airtight container at room temperature for up to 2 days.
- For longer storage, freeze the scones in a freezer-safe bag or container for up to 2 months.
- To reheat frozen scones, thaw them overnight in the refrigerator or bake them in a preheated oven at 350°F (175°C) for 5-10 minutes.
Troubleshooting:
- Scones are too dry: Make sure you are using enough buttermilk and that you are not overbaking the scones.
- Scones are too tough: Avoid overmixing the dough.
- Scones are not rising: Make sure your baking powder and baking soda are fresh. Also, make sure you are not twisting the biscuit cutter when cutting out the scones.
- Scones are burning on the bottom: Make sure you are using a light-colored baking sheet and that you are not baking the scones too close to the bottom of the oven.
Nutritional Information (approximate, per scone):
- Calories: 250-300
- Fat: 10-15g
- Saturated Fat: 6-9g
- Cholesterol: 40-50mg
- Sodium: 200-250mg
- Carbohydrates: 35-45g
- Sugar: 15-20g
- Protein: 4-5g
Enjoy your homemade Apple Scones! They’re perfect for a cozy breakfast, a delightful afternoon tea, or a sweet treat any time of day.
Conclusion:
And there you have it! These Apple Scones are more than just a baked good; they’re a warm hug on a plate, a burst of autumnal flavor, and a guaranteed crowd-pleaser. I truly believe this recipe is a must-try for anyone who loves the comforting taste of apples and the satisfying crumb of a perfectly baked scone. The combination of tender dough, sweet apple chunks, and that hint of cinnamon spice is simply irresistible.
But what truly sets these scones apart is their versatility. While they’re absolutely divine served warm with a dollop of clotted cream and a drizzle of honey (my personal favorite!), the possibilities are endless. For a truly decadent experience, try serving them with a scoop of vanilla ice cream. The contrast between the warm scone and the cold ice cream is heavenly! Or, if you’re feeling adventurous, whip up a batch of homemade apple butter to spread on top. The extra apple flavor will really make these scones sing.
Looking for variations? I’ve got you covered! If you’re not a fan of cinnamon, try substituting it with a pinch of nutmeg or allspice. For a bit of added crunch, toss in a handful of chopped walnuts or pecans. And if you’re feeling particularly creative, you could even add a handful of dried cranberries or raisins for a burst of tartness. You can also experiment with different types of apples. Granny Smith apples will give you a more tart flavor, while Honeycrisp apples will add extra sweetness. The beauty of this recipe is that it’s so adaptable to your own personal preferences.
These Apple Scones are also perfect for any occasion. They’re a wonderful addition to a weekend brunch, a delightful afternoon treat, or even a simple dessert after dinner. They’re also incredibly easy to make ahead of time. Simply bake them and store them in an airtight container at room temperature for up to two days. When you’re ready to serve them, just pop them in the oven for a few minutes to warm them up.
I’ve poured my heart and soul into perfecting this recipe, and I’m confident that you’ll love it as much as I do. It’s a recipe that’s been passed down through my family for generations, and it’s always been a favorite. I’m so excited to share it with you and hope you’ll create some wonderful memories of your own while baking these delicious scones.
So, what are you waiting for? Gather your ingredients, preheat your oven, and get ready to bake some magic! I promise you won’t regret it. And most importantly, don’t forget to share your experience with me! I’d love to hear how your Apple Scones turned out, what variations you tried, and what your favorite serving suggestions are. You can leave a comment below, tag me on social media, or even send me an email. I can’t wait to see your creations! Happy baking!
Apple Scones: The Ultimate Guide to Baking Perfect Scones
Flaky and delicious apple scones, perfect for breakfast or afternoon tea. Made with fresh apples and a hint of vanilla, these scones are easy to make and even easier to enjoy!
Ingredients
- 2 cups all-purpose flour, plus more for dusting
- 1/2 cup granulated sugar
- 2 1/2 teaspoons baking powder
- 1/2 teaspoon baking soda
- 1/4 teaspoon salt
- 1/2 cup (1 stick) cold unsalted butter, cut into small cubes
- 3/4 cup cold buttermilk
- 1 large egg, lightly beaten
- 1 teaspoon vanilla extract
- 1 large apple (such as Honeycrisp or Granny Smith), peeled, cored, and diced
- 2 tablespoons coarse sugar, for sprinkling
- 2 tablespoons milk or cream, for brushing
Instructions
- Combine the dry ingredients: In a large bowl, whisk together the flour, granulated sugar, baking powder, baking soda, and salt.
- Cut in the butter: Add the cold, cubed butter to the flour mixture. Using a pastry blender or your fingertips, cut the butter into the flour until the mixture resembles coarse crumbs. Work quickly to keep the butter cold.
- Whisk the wet ingredients: In a separate small bowl, whisk together the buttermilk, egg, and vanilla extract.
- Combine wet and dry ingredients: Pour the wet ingredients into the bowl with the dry ingredients. Using a wooden spoon or spatula, gently stir until just combined. Be careful not to overmix. A few streaks of flour are okay.
- Add the apples: Gently fold in the diced apples until they are evenly distributed throughout the dough. Again, be careful not to overmix.
- Turn out the dough: Lightly flour a clean work surface. Turn the dough out onto the floured surface and gently pat it into a circle about 1 inch thick. If the dough is too sticky, lightly dust your hands and the surface with more flour.
- Cut the scones: Using a sharp knife or a biscuit cutter (about 2-3 inches in diameter), cut out the scones. If using a knife, cut the circle into 6-8 wedges. If using a biscuit cutter, cut out as many circles as possible, then gently re-form the scraps and cut out more scones. Try not to twist the cutter.
- Prepare the baking sheet: Line a baking sheet with parchment paper.
- Arrange the scones: Place the scones onto the prepared baking sheet, leaving about 1 inch of space between each scone.
- Chill the scones (optional but recommended): For best results, place the baking sheet with the scones in the refrigerator for at least 30 minutes. You can even chill them overnight.
- Preheat the oven: Preheat your oven to 400°F (200°C).
- Brush with milk or cream: Brush the tops of the scones with milk or cream.
- Sprinkle with coarse sugar: Sprinkle the tops of the scones with coarse sugar.
- Bake the scones: Bake the scones for 15-20 minutes, or until they are golden brown and a toothpick inserted into the center comes out clean.
- Cool the scones: Remove the scones from the oven and let them cool on the baking sheet for a few minutes before transferring them to a wire rack to cool completely.
Notes
- Use cold ingredients for the best results.
- Don’t overmix the dough.
- Handle the dough gently.
- Chilling the dough before baking helps the butter to firm up, which will result in flakier scones.
- Serve warm with clotted cream or butter.
- For a warmer flavor, add 1/2 teaspoon of ground cinnamon, nutmeg, or allspice to the dry ingredients.
- Experiment with different types of apples, such as Gala, Fuji, or Braeburn.
- Stir in 1/2 cup of dried cranberries, raisins, or chopped dates to the dough.
- Add 1/2 cup of chopped walnuts, pecans, or almonds to the dough.
- Drizzle the cooled scones with a simple glaze made from powdered sugar and milk or lemon juice.
- Add 1/2 cup of shredded cheddar cheese to the dry ingredients for a savory twist. Reduce the sugar to 1/4 cup.
- Drizzle the baked scones with caramel sauce. You can even add chopped caramel candies to the dough before baking.


Leave a Comment