
Strawberry Vanilla Bean Ice Cream, oh, where do I even begin? Imagine a spoonful of pure summer bliss that’s precisely what this recipe delivers. Forget those store-bought tubs filled with artificial flavors; we’re talking about a homemade ice cream experience that will redefine your definition of dessert.
Ice cream, in its simplest form, has been around for centuries, enjoyed by emperors and commoners alike. While the exact origins are debated, the joy of a frozen treat is universally understood. Adding strawberries and vanilla elevates it to something truly special. Strawberries, with their vibrant color and sweet-tart flavor, perfectly complement the creamy richness of vanilla bean. It’s a classic pairing for a reason!
What makes this Strawberry Vanilla Bean Ice Cream so irresistible? It’s the perfect balance of flavors and textures. The sweetness of the strawberries, the aromatic warmth of vanilla, and the smooth, melt-in-your-mouth texture create a symphony of sensations. Plus, it’s surprisingly easy to make! No fancy equipment required, just a few simple ingredients and a little bit of patience. People adore this dish because it’s a comforting, nostalgic treat that brings back memories of sunny days and happy moments. Get ready to create your own sweet memories with this delightful recipe!

Ingredients:
- 2 cups heavy cream
- 1 cup whole milk
- ¾ cup granulated sugar
- 1 vanilla bean, split lengthwise and seeds scraped
- Pinch of sea salt
- 1 pound fresh strawberries, hulled and sliced
- 2 tablespoons lemon juice
- ¼ cup powdered sugar
Preparing the Strawberry Puree:
- First, we’re going to get our strawberries ready. This is a crucial step because the quality of your strawberries directly impacts the flavor of your ice cream. Make sure you’re using ripe, fragrant berries for the best results.
- Place the hulled and sliced strawberries into a medium-sized bowl.
- Add the lemon juice and powdered sugar to the strawberries. The lemon juice helps to brighten the flavor of the strawberries and prevent them from oxidizing, while the powdered sugar adds a touch of sweetness and helps to create a smooth puree.
- Gently toss the strawberries with the lemon juice and powdered sugar until they are evenly coated.
- Let the strawberries sit for about 30 minutes, stirring occasionally. This allows the strawberries to macerate, releasing their juices and intensifying their flavor. You’ll notice that the strawberries become softer and more syrupy as they sit.
- After 30 minutes, transfer the strawberry mixture to a blender or food processor.
- Blend until completely smooth. You want to achieve a silky-smooth puree with no chunks of strawberries remaining. If you’re using a blender, you may need to scrape down the sides a few times to ensure that all the strawberries are fully incorporated.
- Once the puree is smooth, strain it through a fine-mesh sieve into a clean bowl. This step is optional, but it helps to remove any seeds or remaining bits of strawberry, resulting in an even smoother ice cream.
- Cover the bowl with plastic wrap, pressing the plastic wrap directly onto the surface of the puree to prevent a skin from forming.
- Refrigerate the strawberry puree for at least 2 hours, or preferably overnight. This allows the puree to chill completely, which is important for achieving the right consistency in your ice cream.
Infusing the Vanilla Cream:
- Now, let’s move on to infusing the cream with vanilla. This is where the magic happens, and the vanilla bean adds a depth of flavor that you just can’t get from vanilla extract.
- In a medium-sized saucepan, combine the heavy cream, whole milk, and granulated sugar.
- Add the split vanilla bean and the scraped vanilla seeds to the saucepan. Make sure to scrape all the seeds out of the vanilla bean, as they contain the most flavor.
- Add the pinch of sea salt. The salt enhances the sweetness and other flavors in the ice cream.
- Place the saucepan over medium heat and cook, stirring constantly, until the sugar is completely dissolved and the mixture is steaming. Do not let the mixture boil. You want to heat it gently to infuse the vanilla flavor without scalding the milk or cream.
- Once the sugar is dissolved, remove the saucepan from the heat.
- Cover the saucepan and let the mixture steep for at least 30 minutes, or up to 1 hour. This allows the vanilla flavor to fully infuse into the cream. The longer you steep it, the more intense the vanilla flavor will be.
- After steeping, remove the vanilla bean from the cream mixture. You can rinse and dry the vanilla bean and save it for another use, such as flavoring sugar or making vanilla extract.
- Pour the vanilla-infused cream mixture into a clean bowl.
- Cover the bowl with plastic wrap, pressing the plastic wrap directly onto the surface of the cream to prevent a skin from forming.
- Refrigerate the vanilla cream mixture for at least 4 hours, or preferably overnight. This is crucial for chilling the mixture thoroughly, which will help it freeze properly in the ice cream maker.
Churning the Ice Cream:
- Before you start churning, make sure your ice cream maker bowl is completely frozen. This usually requires at least 24 hours in the freezer. A properly frozen bowl is essential for achieving a smooth and creamy ice cream.
- Remove the vanilla cream mixture and the strawberry puree from the refrigerator.
- Pour the chilled vanilla cream mixture into the frozen ice cream maker bowl.
- Turn on the ice cream maker and churn according to the manufacturer’s instructions. This usually takes about 20-25 minutes, but it can vary depending on your ice cream maker and the temperature of your ingredients.
- While the ice cream is churning, keep an eye on the consistency. You want the ice cream to be thick and creamy, with a soft-serve consistency.
- Once the ice cream has reached the desired consistency, slowly pour in the chilled strawberry puree.
- Continue churning for another 5-10 minutes, or until the strawberry puree is fully incorporated and the ice cream is evenly colored.
- The ice cream will still be quite soft at this point. For a firmer consistency, transfer the ice cream to an airtight container.
Freezing and Serving:
- Place the container of ice cream in the freezer and freeze for at least 2-3 hours, or until firm. This allows the ice cream to harden and develop its full flavor.
- Before serving, let the ice cream sit at room temperature for a few minutes to soften slightly. This will make it easier to scoop.
- Scoop the ice cream into bowls or cones and enjoy! You can garnish with fresh strawberries, whipped cream, or any other toppings you like.
- Store any leftover ice cream in an airtight container in the freezer. It’s best to consume it within a week or two for the best flavor and texture.
Tips for Success:
- Use high-quality ingredients: The better the ingredients, the better the ice cream. Opt for fresh, ripe strawberries and high-fat cream for the best results.
- Chill everything thoroughly: Make sure your ice cream maker bowl, cream mixture, and strawberry puree are all well-chilled before churning. This will help the ice cream freeze properly and prevent ice crystals from forming.
- Don’t overchurn: Overchurning can result in a grainy texture. Churn until the ice cream is thick and creamy, but not too hard.
- Adjust sweetness to taste: If you prefer a sweeter ice cream, you can add more sugar to the cream mixture. Just be sure to dissolve it completely before churning.
- Get creative with flavors: Feel free to experiment with different flavors and add-ins. You could try adding chocolate chips, nuts, or other fruits to your ice cream.
Troubleshooting:
- Ice cream is too icy: This is usually caused by not chilling the ingredients thoroughly enough or by overchurning. Make sure everything is well-chilled and avoid overchurning.
- Ice cream is too soft: This could be due to not freezing the ice cream maker bowl properly or not freezing the ice cream long enough after churning. Make sure the bowl is completely frozen and freeze the ice cream for at least 2-3 hours after churning.
- Ice cream is grainy: This can be caused by overchurning or by using low-fat cream. Avoid overchurning and use high-fat cream for the best results.
Conclusion:
And there you have it! This Strawberry Vanilla Bean Ice Cream isn’t just another frozen dessert; it’s a symphony of flavors and textures that will transport you to a sunny strawberry field with every spoonful. The creamy vanilla base, speckled with fragrant vanilla bean seeds, perfectly complements the burst of fresh, sweet strawberries. It’s a recipe that’s both incredibly satisfying and surprisingly easy to make at home, proving that you don’t need fancy equipment or complicated techniques to create something truly special.
Why is this a must-try? Because it’s more than just ice cream; it’s an experience. It’s the taste of summer, the comfort of homemade goodness, and the joy of sharing something delicious with loved ones. The combination of the creamy vanilla and the vibrant strawberry is simply irresistible, and the fact that you made it yourself adds an extra layer of satisfaction. Plus, you control the ingredients, ensuring a treat that’s free from artificial flavors and preservatives.
But the fun doesn’t stop there! Feel free to get creative with your serving suggestions. A scoop of this Strawberry Vanilla Bean Ice Cream is divine on its own, but it’s also fantastic paired with warm brownies, a slice of pie, or even crumbled shortbread cookies. For a truly decadent treat, try layering it with fresh berries and whipped cream in a parfait. Or, if you’re feeling adventurous, blend it into a milkshake for a refreshing and creamy beverage.
Looking for variations? You could easily swap out the strawberries for other berries like raspberries, blueberries, or blackberries. A swirl of balsamic glaze adds a sophisticated touch, while a sprinkle of chopped nuts provides a delightful crunch. For a dairy-free version, use coconut cream or cashew cream as the base. The possibilities are endless!
This Strawberry Vanilla Bean Ice Cream recipe is a guaranteed crowd-pleaser, perfect for everything from casual weeknight desserts to special occasions. It’s a recipe that you’ll find yourself making again and again, not just during strawberry season, but whenever you crave a taste of sunshine and happiness.
I truly believe that everyone should experience the joy of making their own ice cream, and this recipe is the perfect place to start. It’s simple, straightforward, and yields incredible results. So, gather your ingredients, dust off your ice cream maker (or get ready for the no-churn method!), and prepare to be amazed.
Don’t be intimidated by the thought of making ice cream from scratch. This recipe is designed to be foolproof, even for beginners. Just follow the instructions carefully, and you’ll be rewarded with a creamy, dreamy, and utterly delicious treat.
I’m so excited for you to try this recipe and discover the magic of homemade ice cream. Once you’ve made your batch of Strawberry Vanilla Bean Ice Cream, I would absolutely love to hear about your experience! Share your photos, your variations, and your serving suggestions in the comments below. Let’s create a community of ice cream lovers and inspire each other to get creative in the kitchen. Happy ice cream making! I can’t wait to see what you create!
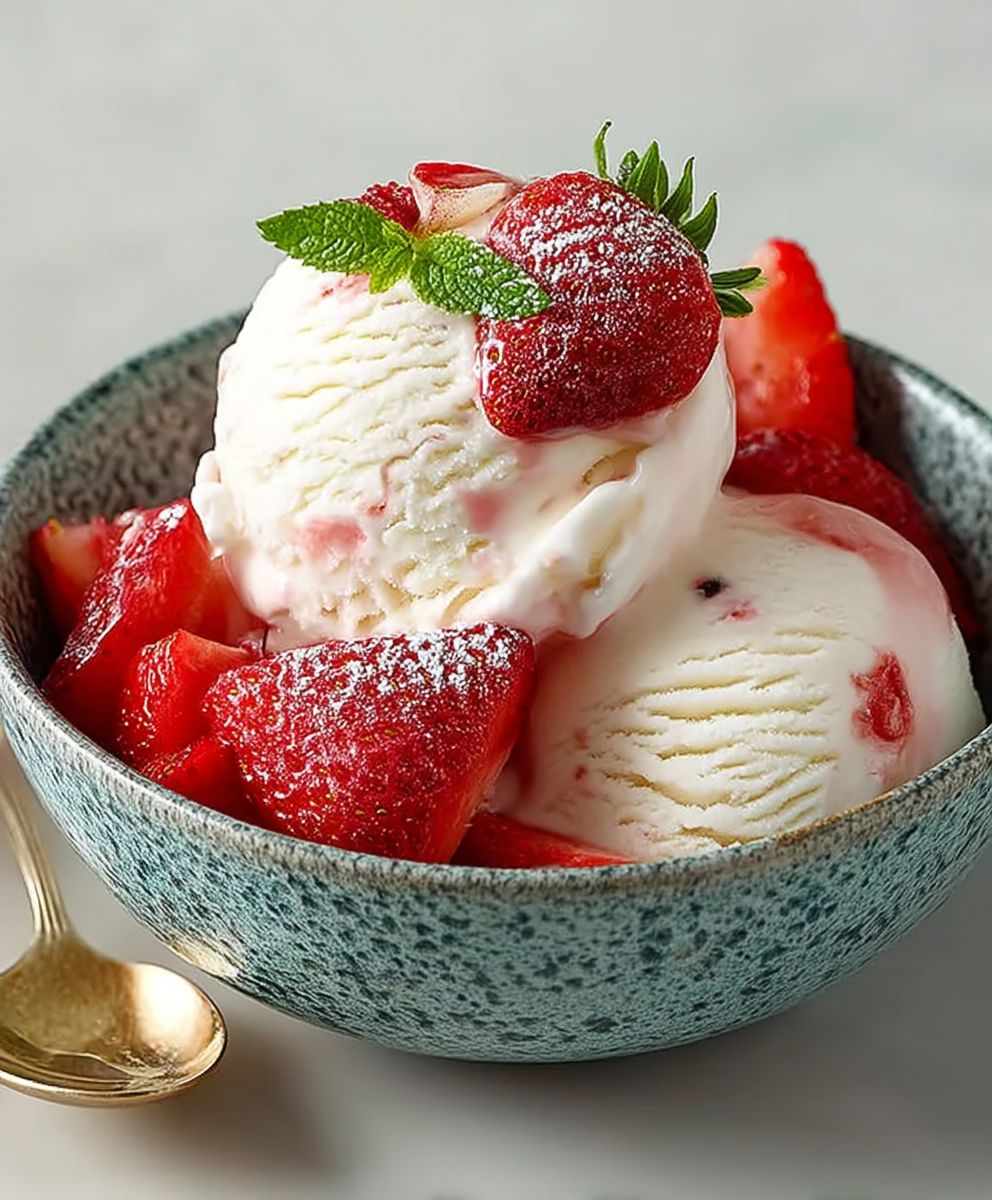
Strawberry Vanilla Bean Ice Cream: The Ultimate Summer Treat
Homemade strawberry ice cream with rich vanilla infused cream and fresh strawberry puree.
Ingredients
- 2 cups heavy cream
- 1 cup whole milk
- ¾ cup granulated sugar
- 1 vanilla bean, split lengthwise and seeds scraped
- Pinch of sea salt
- 1 pound fresh strawberries, hulled and sliced
- 2 tablespoons lemon juice
- ¼ cup powdered sugar
Instructions
- Place the hulled and sliced strawberries into a medium-sized bowl.
- Add the lemon juice and powdered sugar to the strawberries.
- Gently toss the strawberries with the lemon juice and powdered sugar until they are evenly coated.
- Let the strawberries sit for about 30 minutes, stirring occasionally.
- Transfer the strawberry mixture to a blender or food processor.
- Blend until completely smooth.
- Once the puree is smooth, strain it through a fine-mesh sieve into a clean bowl (optional).
- Cover the bowl with plastic wrap, pressing the plastic wrap directly onto the surface of the puree.
- Refrigerate the strawberry puree for at least 2 hours, or preferably overnight.
- In a medium-sized saucepan, combine the heavy cream, whole milk, and granulated sugar.
- Add the split vanilla bean and the scraped vanilla seeds to the saucepan.
- Add the pinch of sea salt.
- Place the saucepan over medium heat and cook, stirring constantly, until the sugar is completely dissolved and the mixture is steaming. Do not let the mixture boil.
- Once the sugar is dissolved, remove the saucepan from the heat.
- Cover the saucepan and let the mixture steep for at least 30 minutes, or up to 1 hour.
- After steeping, remove the vanilla bean from the cream mixture.
- Pour the vanilla-infused cream mixture into a clean bowl.
- Cover the bowl with plastic wrap, pressing the plastic wrap directly onto the surface of the cream.
- Refrigerate the vanilla cream mixture for at least 4 hours, or preferably overnight.
- Make sure your ice cream maker bowl is completely frozen (at least 24 hours in the freezer).
- Remove the vanilla cream mixture and the strawberry puree from the refrigerator.
- Pour the chilled vanilla cream mixture into the frozen ice cream maker bowl.
- Turn on the ice cream maker and churn according to the manufacturer’s instructions (usually 20-25 minutes).
- Once the ice cream has reached a soft-serve consistency, slowly pour in the chilled strawberry puree.
- Continue churning for another 5-10 minutes, or until the strawberry puree is fully incorporated and the ice cream is evenly colored.
- Transfer the ice cream to an airtight container.
- Place the container of ice cream in the freezer and freeze for at least 2-3 hours, or until firm.
- Before serving, let the ice cream sit at room temperature for a few minutes to soften slightly.
- Scoop the ice cream into bowls or cones and enjoy!
- Store any leftover ice cream in an airtight container in the freezer.
Notes
- Use high-quality ingredients for the best flavor.
- Chill everything thoroughly before churning.
- Don’t overchurn the ice cream.
- Adjust sweetness to taste.
- Get creative with flavors and add-ins.
- If ice cream is too icy: Chill ingredients more or avoid overchurning.
- If ice cream is too soft: Freeze the ice cream maker bowl properly or freeze the ice cream longer after churning.
- If ice cream is grainy: Avoid overchurning or use high-fat cream.


Leave a Comment